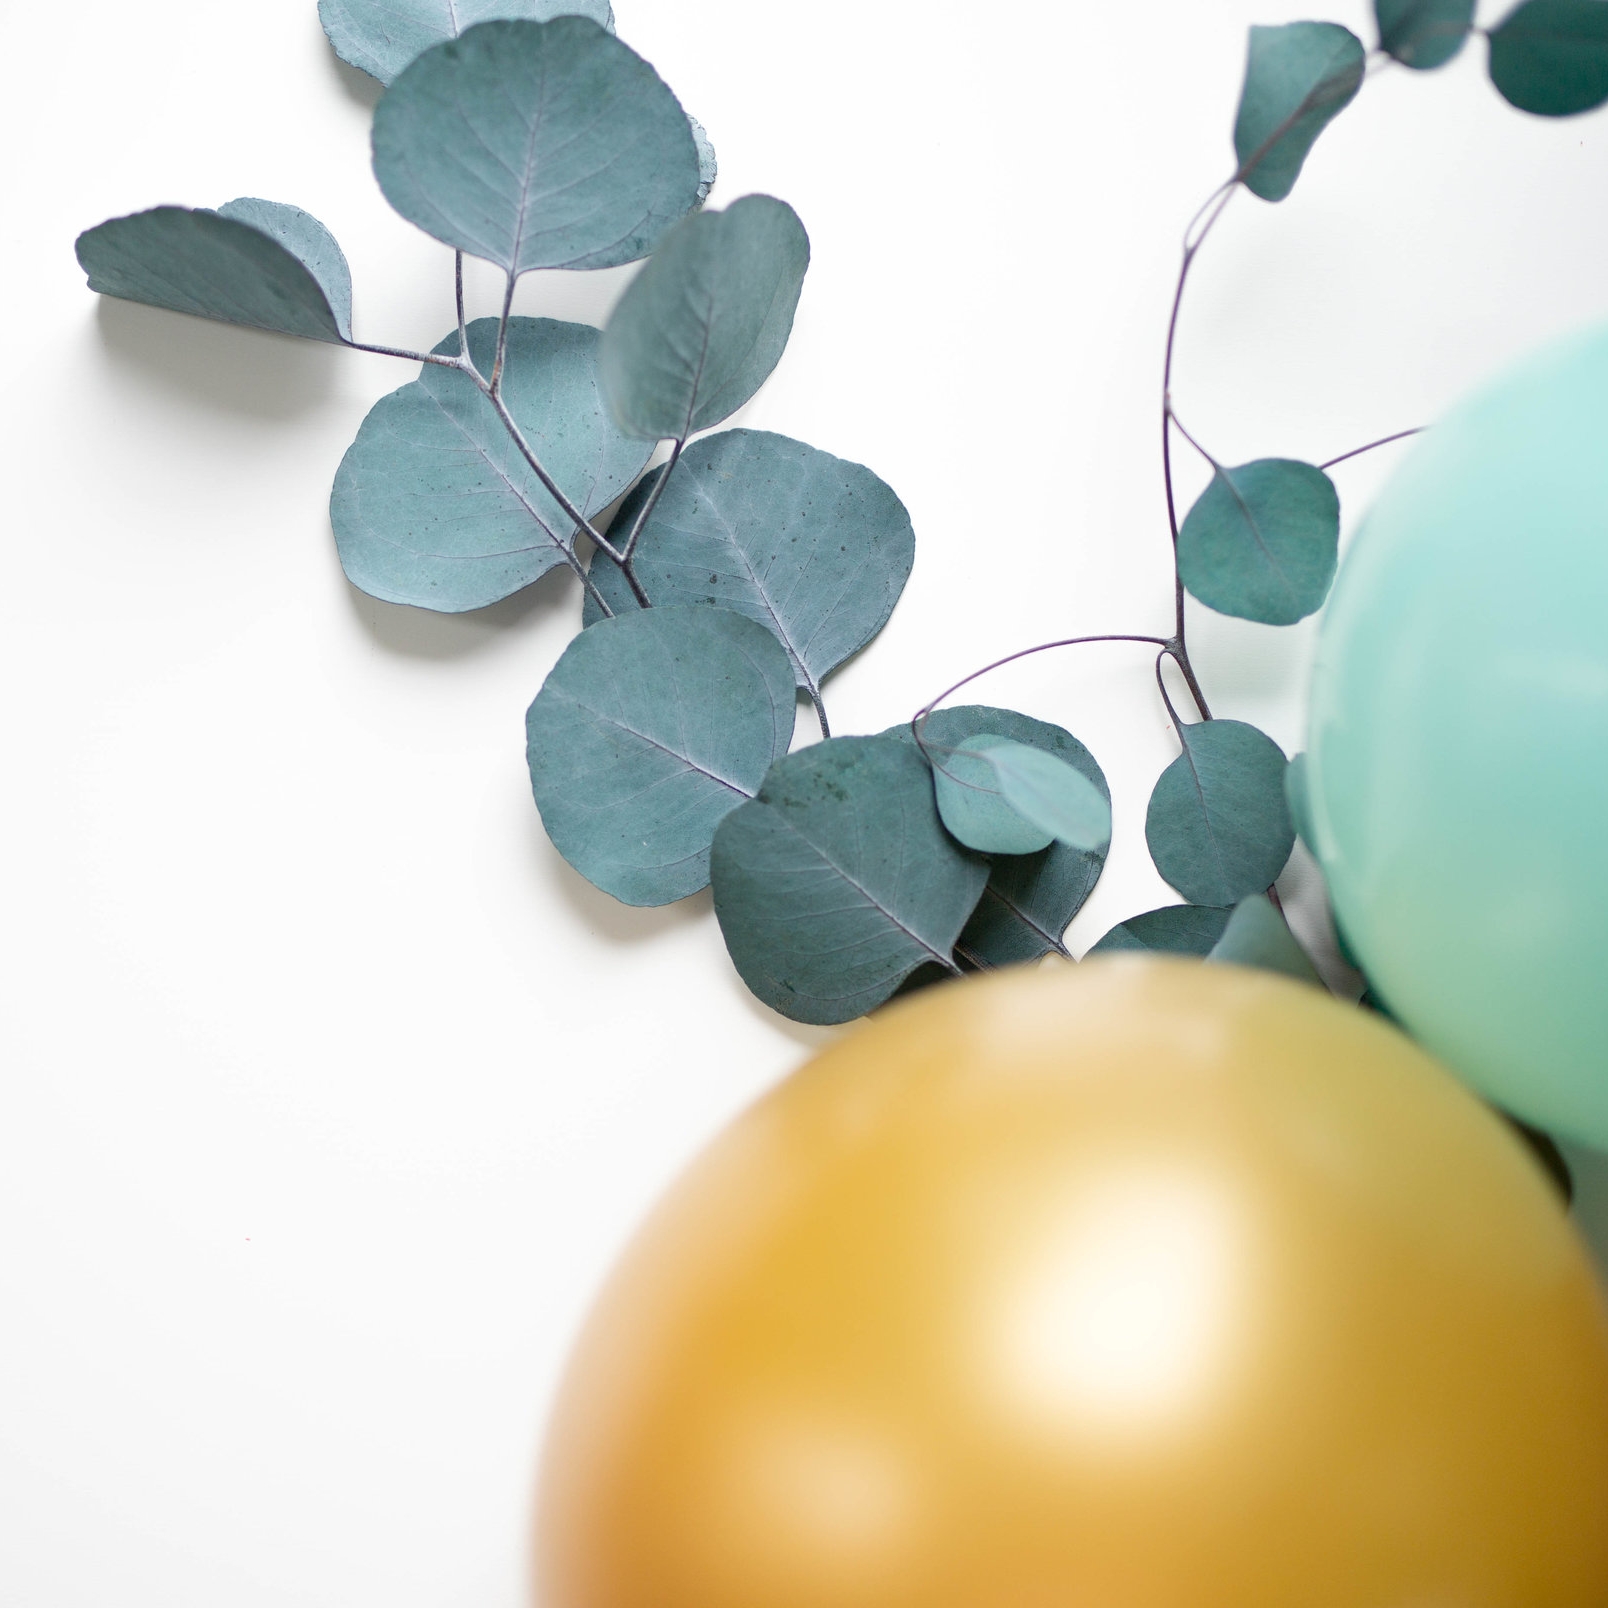
KENTUCKY DERBY AND CINCO DE MAYO TRADITIONS


Being a Kentucky girl, we ALWAYS celebrate Derby day! But when it falls on Cinco De Mayo, it is a super duper extra special treat for us here at The Ever Co!


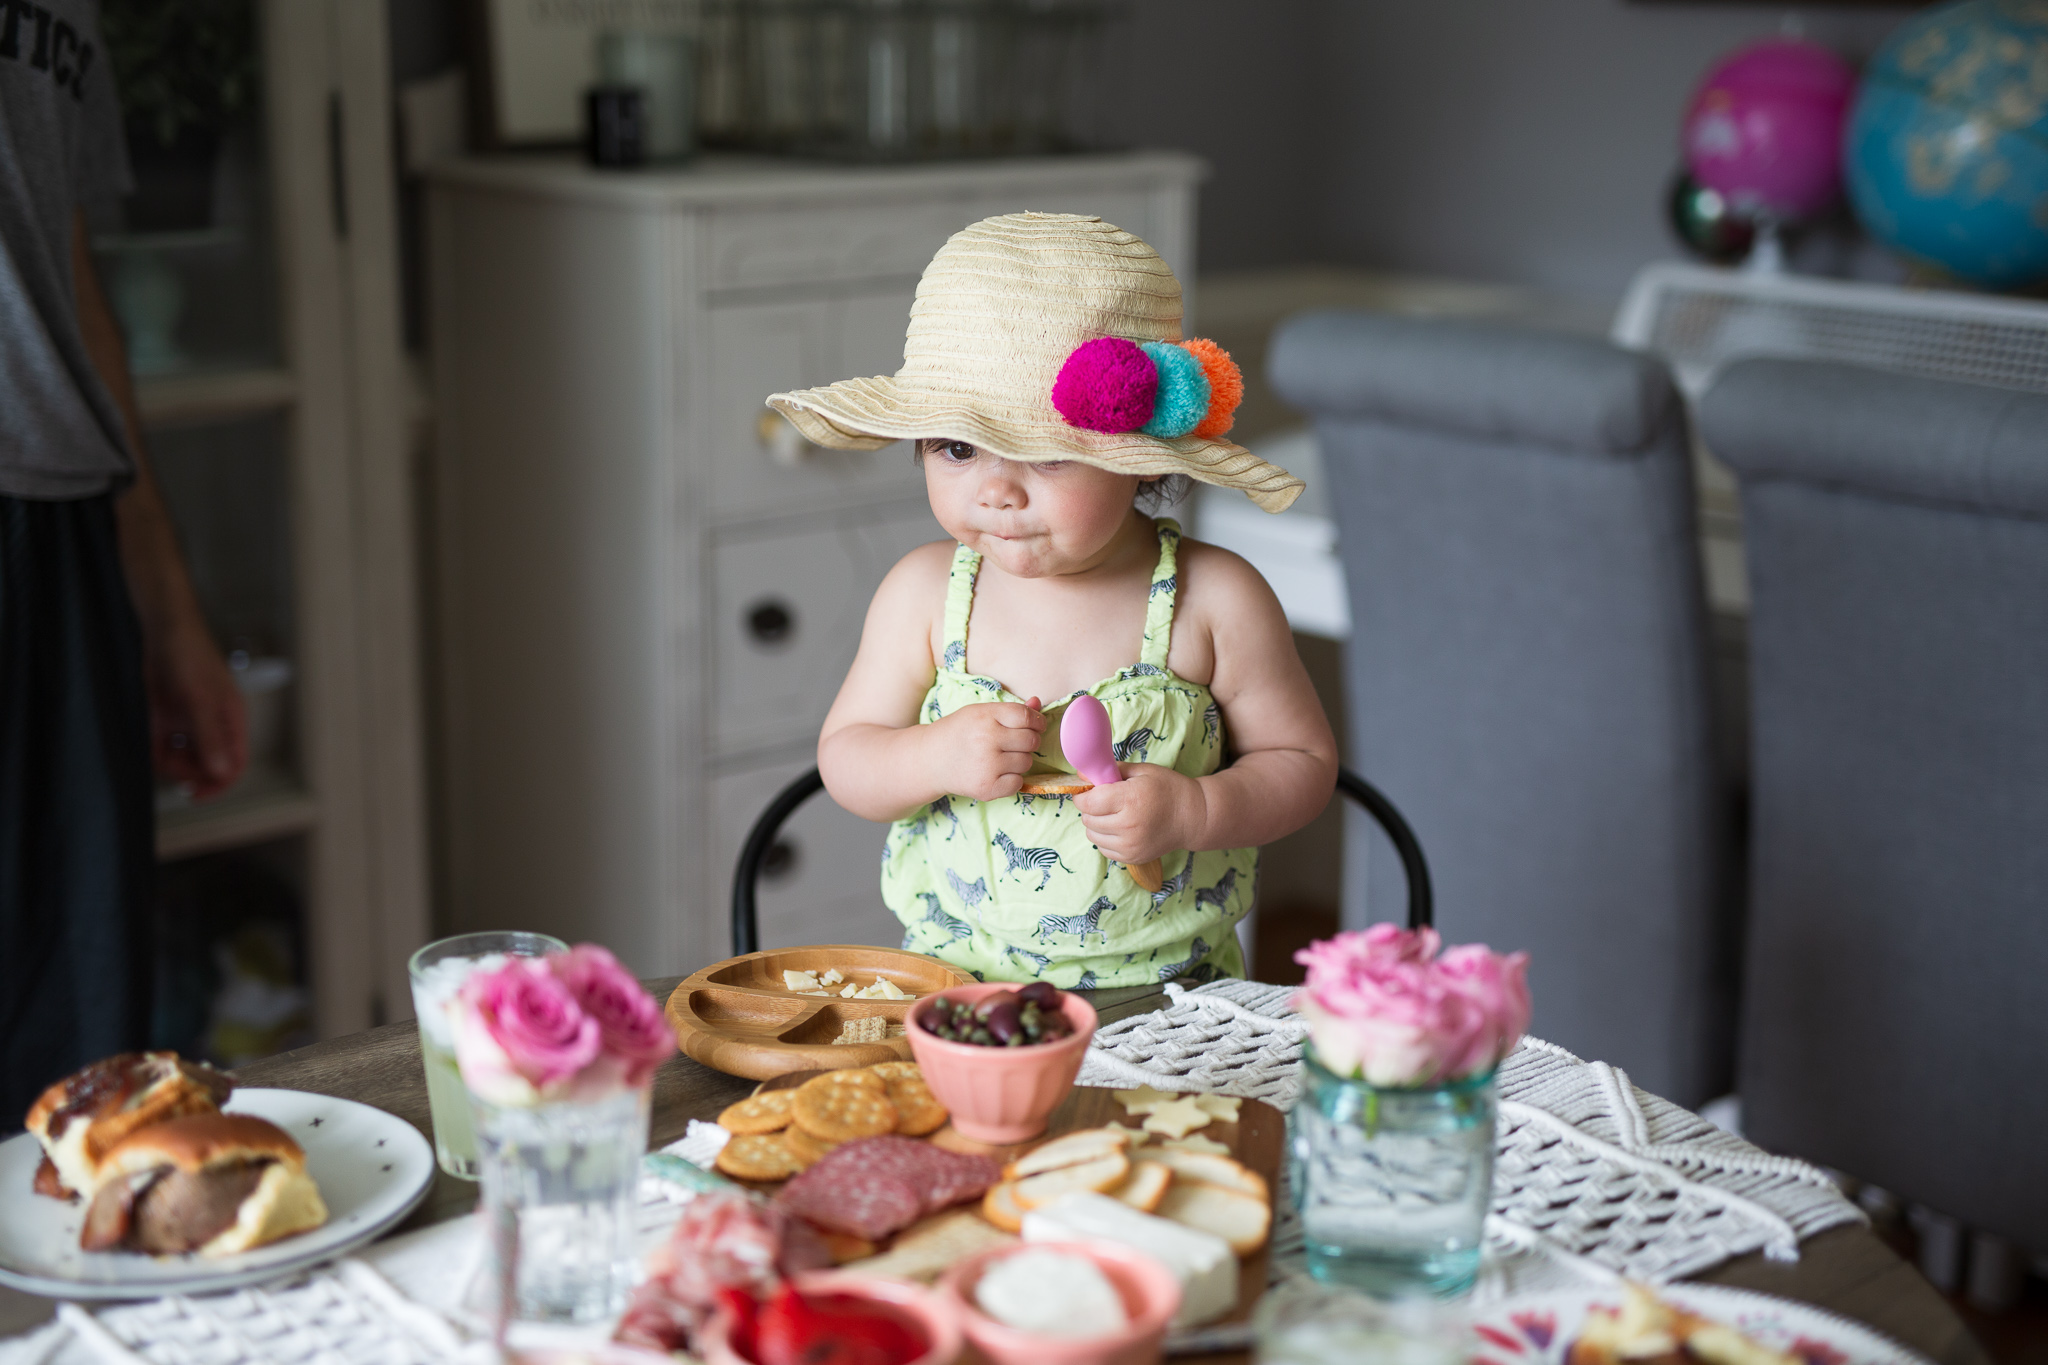
Blake, our Ever Co papa bear, LOVES LOVES LOVES him some Mexican food, and for Derby I always make an antipasto platter with Kentucky bourbon sliders! 


Rug: Rugs USA

Table Runner: Anthro (similar available at Target!)


So today, we're having our traditional Derby food for lunch and our taco bar for dinner! 


This morning we started the day with a milk bath for the girls and let them both take their horses in! They loved it so much cause typically their horses stay downstairs in the toy bin.  They're both not old enough yet to understand the Kentucky Derby, but they do both love horses! 

MILK BATH RECIPE:

  • 1-2 cups milk of choice (breastmilk, cows milk and powdered milk all work)
  • 1/2 cup cornstarch
  • 1-3 drops lavendar oil
 

Hair Clip: Ryan and Wren


We then turned on our ALL TIME FAVORITE show, SPIRIT: Riding Free on Netflix! Everly is absolutely obsessed with the show and Hadley just ADORES dancing to the intro song!

After some screen time, we always try to go outside to play before naps. We let the girls take their horses outside (something we also typically don't let them do) and it was precious watching them play with the horses after watching the show.


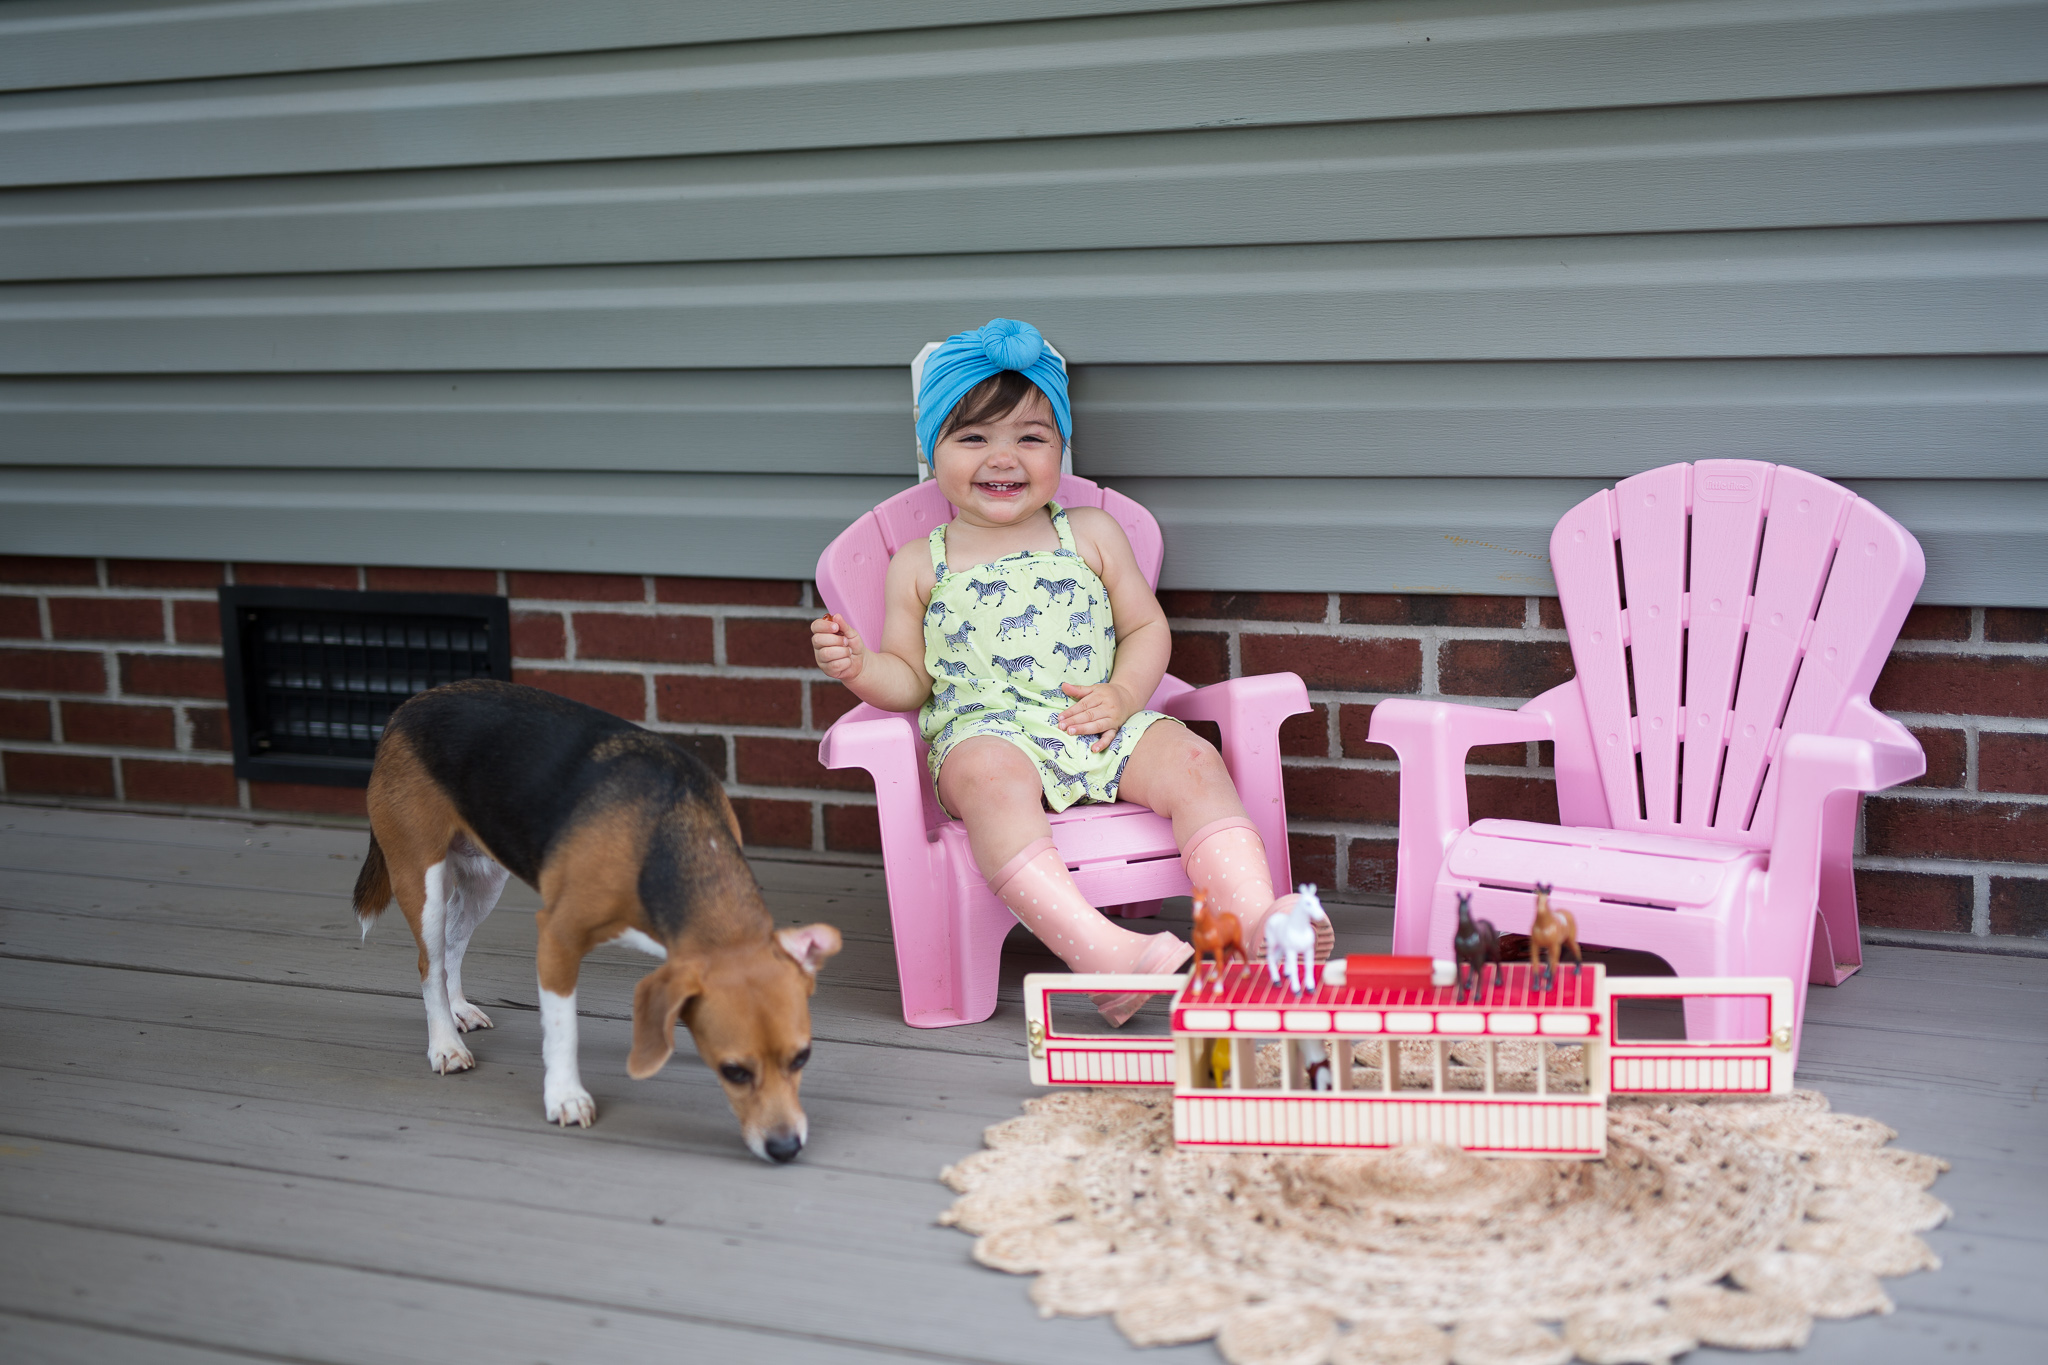
We gifted Everly her very first Spirit + Lucky set today and we think we've started a new tradition of giving the girls a new toy horse every Derby! It'll be so fun to see their collection grow over the years and it'll be something they look forward to every year...that is until they start asking for a real horse! :) 


During nap time, Blake and I watched Seabiscuit, one of our favorite movies! Tonight we plan on watching Warhorse to end the night after the girls go down to bed. 

A couple hours before bed we FINALLY got to watch the main event! The Derby!!! It is always so much fun watching the horses every year, and I can't wait to take the whole family to the Derby in real life one day!

After the Derby, we finished the night with the girls watching CoCo and eating our dinner which you can read about below! Our dinner was all about Cinco de Mayo. We just love making these traditions with our family. 

Now on to the food! 

For lunch, we made our traditional Derby appetizers/ lunches: antipasto cheese platters and Kentucky Bourbon sliders! (with a side of margaritas. :) 

Here's what I always get for my cheese boards! 

  • Smoked Gouda Triscuits
  • Ritz Crackers
  • New York Garlic bagel crisps
  • Salame
  • Proscuitto
  • Minced Garlic
  • Roasted Red Peppers
  • Capers
  • Kalmata Olives
  • Garlic dip
  • Mozzarella balls
  • Cheddar cheese
  • Feta


Here's the ingredients + instructions for the sliders!

  • Roast Beef or Beef Brisket (I used the Jack Daniels Beef Brisket from Walmart!)
  • American Cheese
  • Mayo
  • Hawaiian Rolls

For dinner, we made our traditional Cinco de Mayo taco bar! (with a side of margaritas yet again. :) 


Here's what I always get for our taco bar! 

  • Hard and soft taco shells
  • Multigrain tostito chips
  • Green Peppers, onions, red peppers (for fajitas)
  • Fajita chicken and beef
  • Ground beef or turkey
  • Corn
  • Salsa
  • Hot Sauce
  • Sour Cream
  • Guacomole
  • Refried Beans
  • Mushrooms
  • Mexican Rice

We sure do hope you've had just as much fun with your family celebrating both Cinco de Mayo and the Kentucky Derby! Next year, if you don't already, maybe you can incorporate some of these traditions with your family! We're big believers in celebrating everyday like it's a holiday and creating traditions that'll last forEVER! 

I'll end with some cute pics that we got of our little Hadley bug wearing her Derby gear. :) 


Hat: Target last year

Outfit: Thrifted

Shoes: Old Navy


xx, Amy + The Ever Co

BALLOON ARCH DIY TUTORIAL

The wait is over! My most asked for tutorial is finally here!!! Yippee!!! 

 
balloon garland tutorial copy.jpg
 

It's no lie that I have such a passion for celebrating people, and there's no better way for me to do it than create a backdrop and beautiful scene for their celebrations! 

I'll be sharing pictures from both Hadley's first birthday party and from a recent baby shower I hosted! I love that you can see two different color scheme options, but I also love showing you this because the exact same DIY method was used for both!!

Can't wait to see your creations!


STEP ONE: GATHER MATERIALS

  • greenery (i used eucalyptus leaves and silk flowers from Hobby Lobby)
  • staple gun (we used a staple gun because we are redoing the wall that I've been using for these arch garlands. We've also used heavy duty painters tape as well, but it's not guaranteed to stay up.)
  • balloons (I gather balloons from various big box locations like party city, walmart, target, hobby lobby, michaels and joanns, but I also love shop sweet lulu and etsy shops for more specialized colors!!)
  • washi tape (to cover the ends of the floral wire)
  • cloth floral stem wire (buy the heaviest gauge available and around 18" for length.  There are Hobby lobby, walmart and amazon versions available! Just google search "cloth floral stem wire" and many come up; I bought ours at our local Hobby Lobby)

STEP TWO: COVER FLORAL WIRE ENDS

  • for this step you will use your washi tape to cover the floral wire stems.  cover the ends of all the floral wires you plan on using. the length and number of wires will be based on the size of arch you need (get this measurement by laying them out along the wall to get a visual for how large you want the arch).
  • the purpose of this is to ensure that as you're messing with the wire (which is sharp) it doesn't accidentally poke and pop one of the balloons; it equally acts as a barrier for your skin too! 

STEP THREE: BEGIN TO TIE BALLOONS TO THE WIRE

  • you want to first use your limited colors.  If you are using a pink, red and white color scheme for instance, but you want pink to be the dominant color, I'd start with placing limited reds and white along all of the floral wires spreading them out evenly. then I'd go back in and fill in all the open areas with all the pinks remaining so that there's mostly pink in the arch.  similar to the blue and gold arch, I started with the gold first and then filled in with all of the blue. 
  • to tie the balloons to the wire, I didn't tie them off to themselves first. It's easier to tie them to the wire as you're tying the balloon off.  Does that make sense? haha! 

STEP FOUR: FILL IN ALL SPACES

  • add in all of the filler balloons (the dominant color) and lay the arch flat on the ground to make sure there's no open areas.
  • also remember that once it is on the wall, many of the open areas will fill in because the pressure against the wall will push the balloons out.  

STEP FIVE: STAPLE WIRE TO WALL

  • again, you may want to use another method that is a little less damaging to your walls. we are only doing it because it's a wall we are going to redo. BUT, if you can do it-do it! It's the best way to keep them secure! if you have a space that can be easily covered up by a large picture, then a staple gun will work!! 
  • you want to staple right above where you put the washi tape. 
  • once the wire is stapled to the wall, the best way to secure the wire is to wrap the end with the washi tape around the wire to fully secure the arch to the wall! that'll keep it from slipping or sliding at all! 
  • repeat this step with each end of each wire to form an arch on the wall.
  • we learned that it's best to do each piece in segments because it's much easier to work with the smaller sections. once you put them all together on the wall it'll look like one fluid piece! 

 STEP SIX: ADD FLORAL

  • once the full arch is on the wall, add in all of your pretty greenery and floral to make the arch come together! THIS IS MY FAVORITE PART!!! IT ADDS SOOOO MUCH! 
  • you'll have to mess around with different angles and placements until it looks the best, but feel free to use my pictures as inspiration for where you should place yours! I also use flowers and just stick them in between balloons to hold them in place! 
  • if the balloons are secured to the wall well (i.e. with a staple gun) you don't have to attach the flowers or greenery into the wall at all! mine are all just placed in between the balloons which hold them on the wall just fine! 

I canNOT wait to see what you all come up with! Be sure to tag us @theeverco and #theeverco so we can see and possibly feature it on the blog or IG!

Here's some pics from my instagram @amylouhawthorne from the two parties I made these for! I'm pretty sure they're my all time favorite DIY now! 


xx, Amy

DIY FLOWER CROWS

The picture that broke the internet. 

Just kidding.

Just a really cute pic I found on pinterest while spending an hour trying to find the perfect pic to announce this blog post tonight. So, I found a cow. And it may very well be my favorite picture of all time. But now to find this cow's owner and give credit where credit is due! If you find the source, let me know!

So here we are! I've been so excited to share this blog post on DIY flower crowns! Throwing a crown party is not only the BEST idea for a GAL-entines bash, but it's also such a perfect activity for a bridal shower, baby shower or other all ladies gathering! The whimsical, bohemian feel of them just makes my heart melt.  

Here are a few of my favorites (with tutorials) that I found today while spending 89,722 minutes trying to find the flower cow owner! ;)

This adorable one from Maker's Society! 

This gorgeous one from Delia Creates! 

This precious one + Rock My Wedding! 

Screen Shot 2018-01-21 at 9.30.51 PM.png

This darling one from Little Inspiration Blog! 

But wait, there's more! 

I am so excited to introduce you all to Marrissa and Amanda of The Wild Revival! 

We truly wanted to find blog contributors who shared the same passions as The Ever Co.  We wanted genuine souls who were on fire to build legacy and create tradition. 

And that's exactly what we found in these two ladies. 

The Wild Revival -21.jpg

Here's a small exerpt from their blog post on their DIY Flower Crown Gathering!         

"The heart + soul behind The Wild Revival Gatherings is creating a space where the walls can drop and real, honest conversations can happen.

This is about connection.

On the last Saturday of August, we finally held our first gathering: Flower Crowns + Food! It was amazing to see our heart’s desire come to fruition right in front of us.  It was an ideal end of summer soiree.

There were 16 of us at the event and we each brought something different to the table. Our stories are different, as are our struggles + our joys. We created, we laughed, and we engaged in conversations we wouldn’t have had, had it not been for the gathering. There is something to be said about what God does when He brings people together in that way."

“The heart of hospitality is about creating space for someone to feel seen and heard and loved. It’s about declaring your table a safe zone, a place of warmth and nourishment.” 

― Shauna NiequistBread & Wine

blogger-image-181247789.jpg

Honestly, I could not be more grateful that The Wild Revival are our very first EVER blog contributors.  I'm so grateful to be surrounded by women who encourage and uplift other women. Who cheer each other on. Who lift each other up. Who inspire.  

Thank you ladies so much for sharing your hearts with us and for GATHERING! 

Be sure to share your flower crowns with us on Instagram and tag us @theeverco ! 

Matthew 18:20 "For where two or three have gathered together in My name, I am there in their midst." PC: pinterest, source unknown

Happy crafting!

xx, Amy