
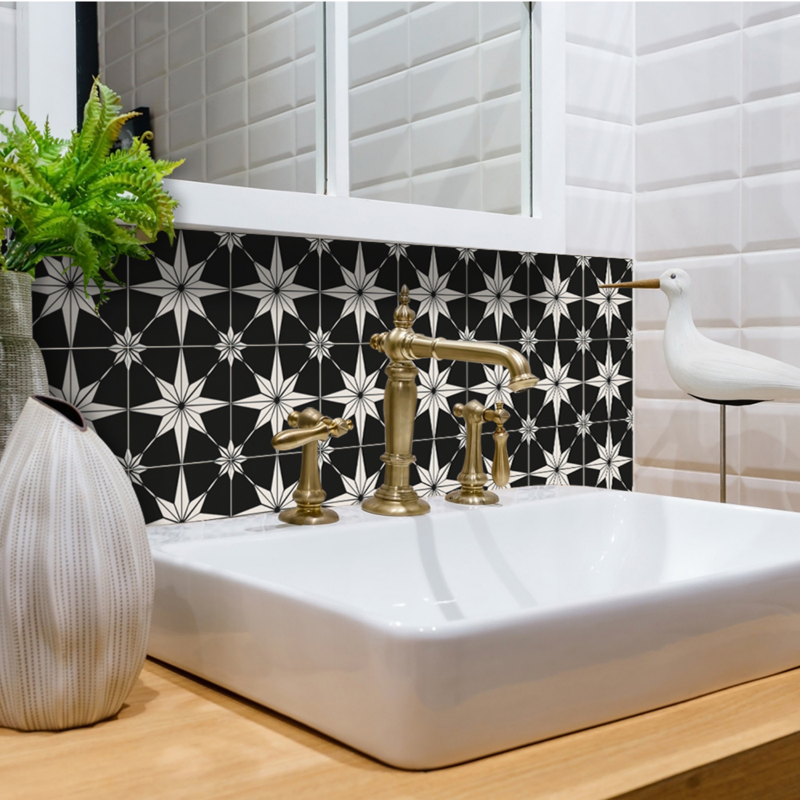
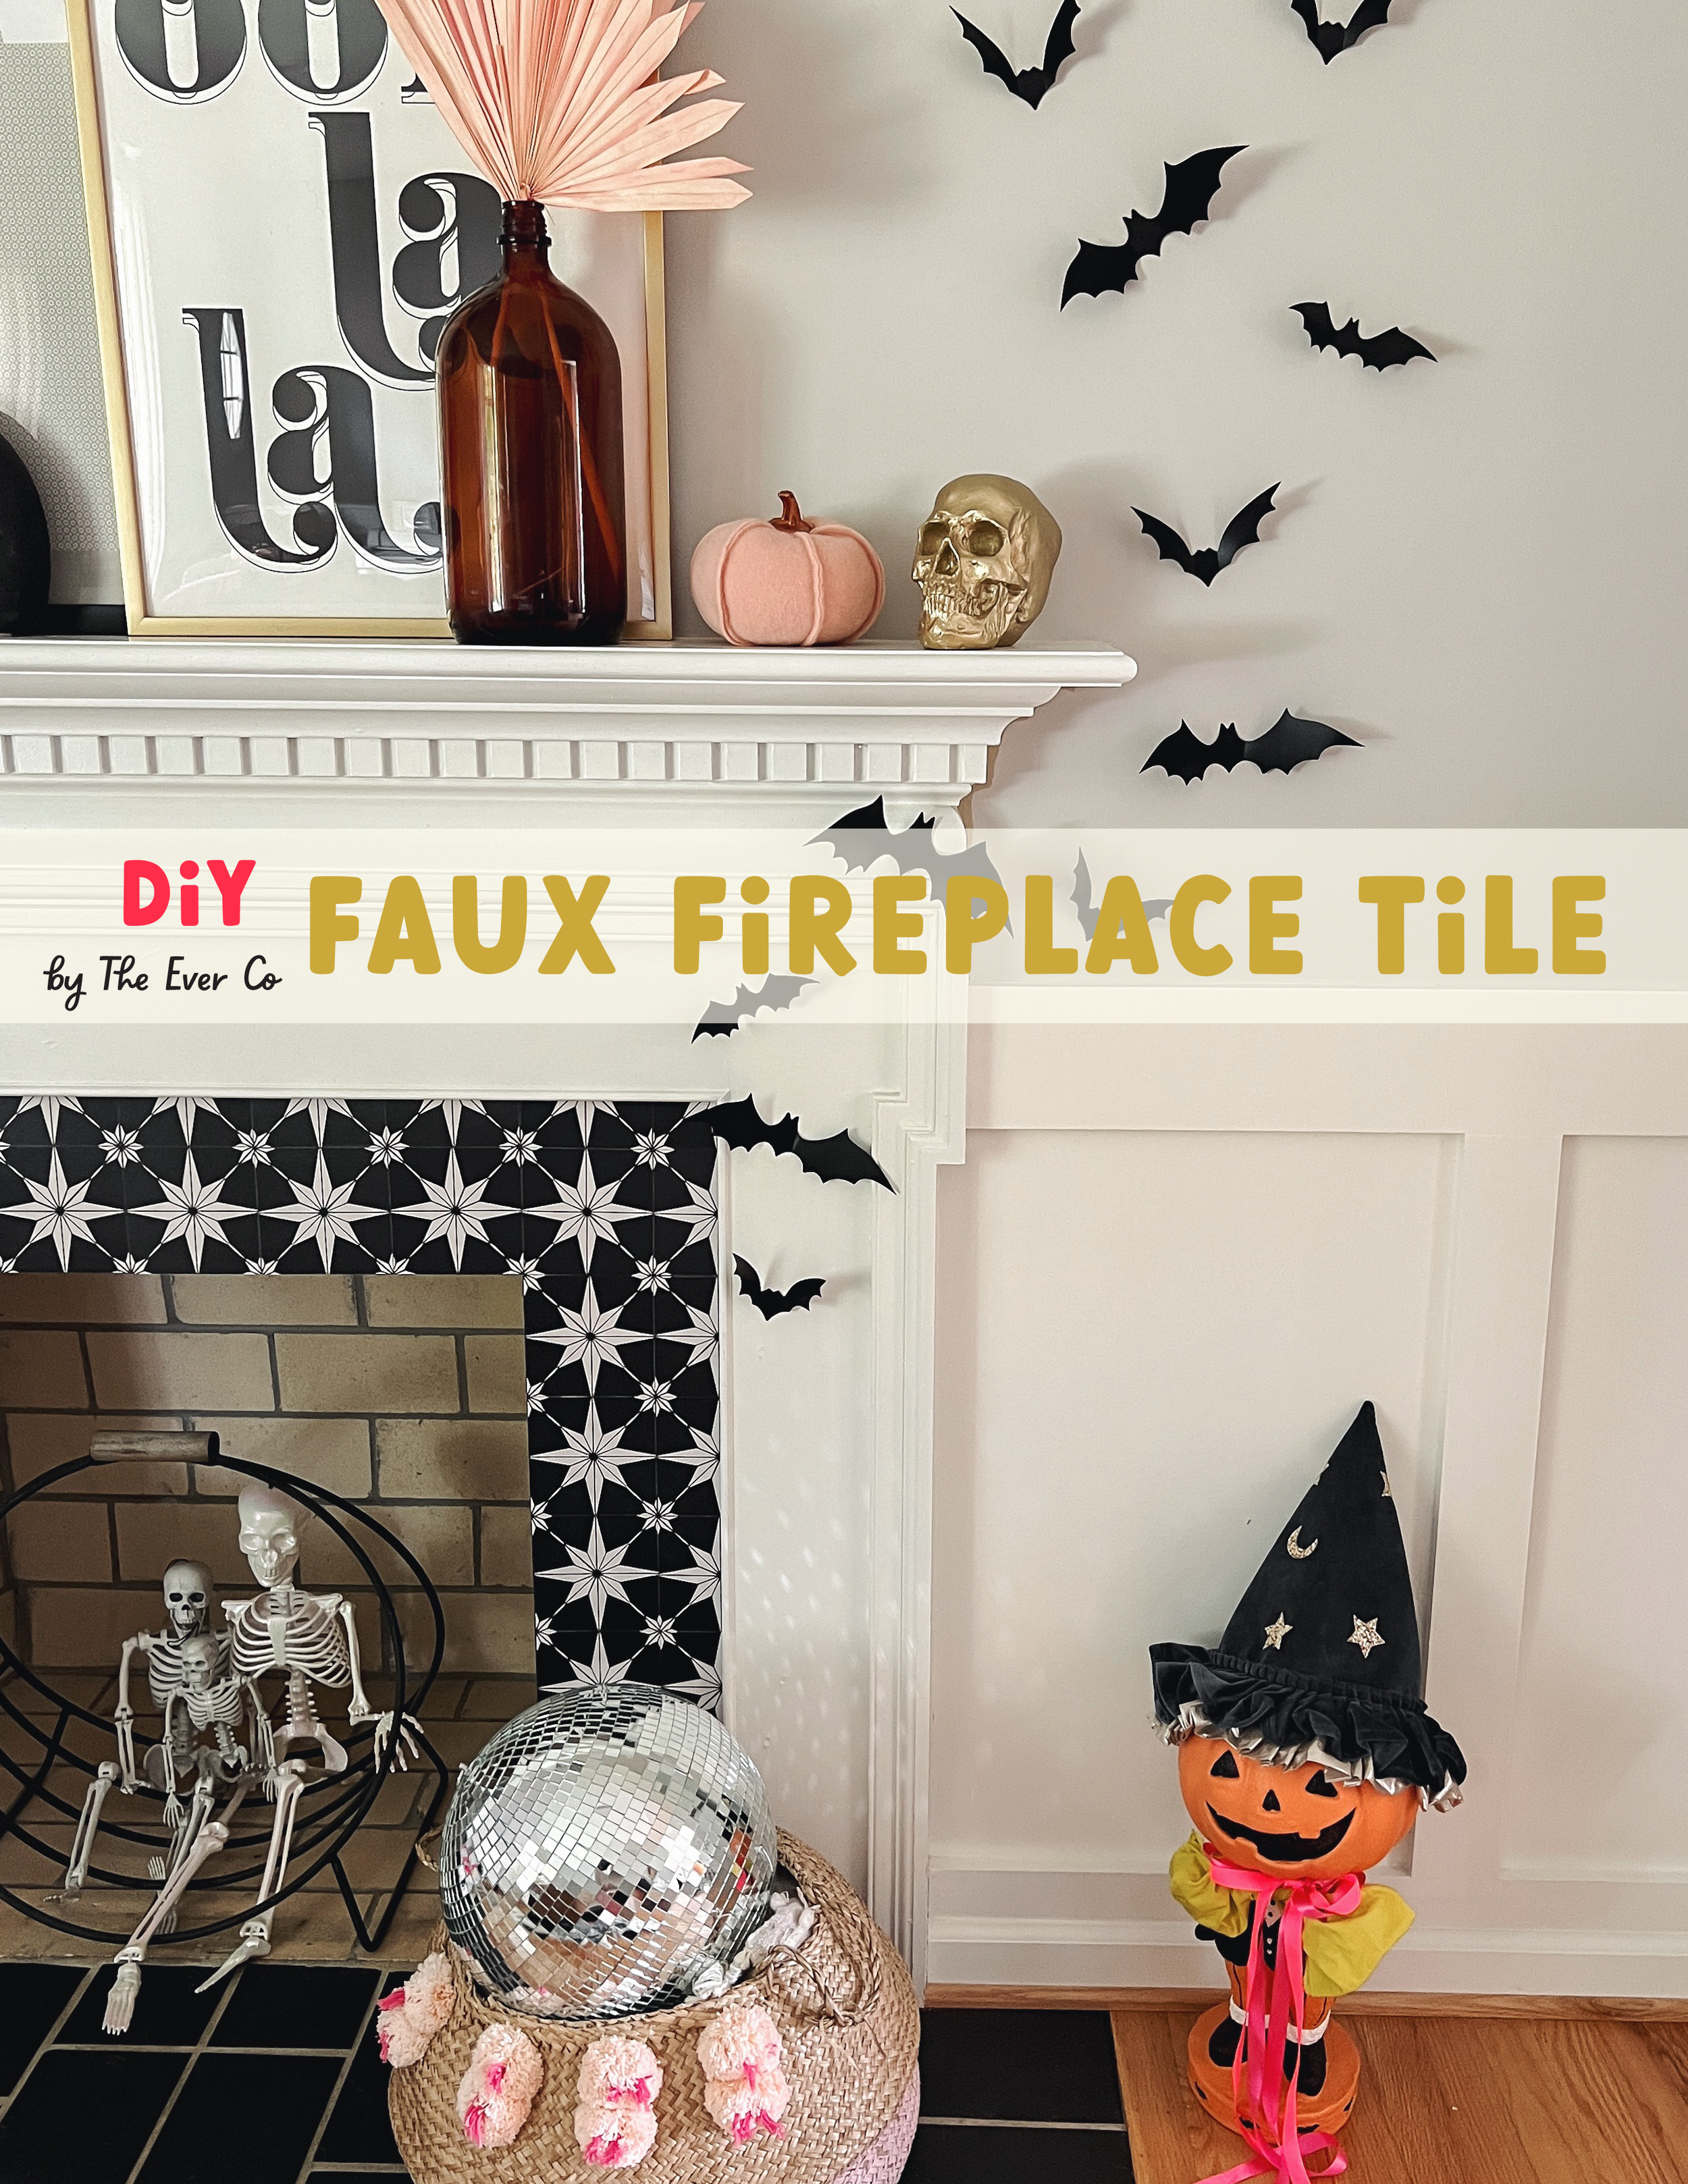
MY FAVORITE DIY EVER - FAUX FIREPLACE TILE
I HAVE NEVER BEEN MORE EXCITED TO SHARE A DIY IN MY LIFE!!!!!
I’ve also never been more proud of one. So here it goes.
Let’s make DIY FAUX FIREPLACE TILE!!!!!
Why do I love this project so much?
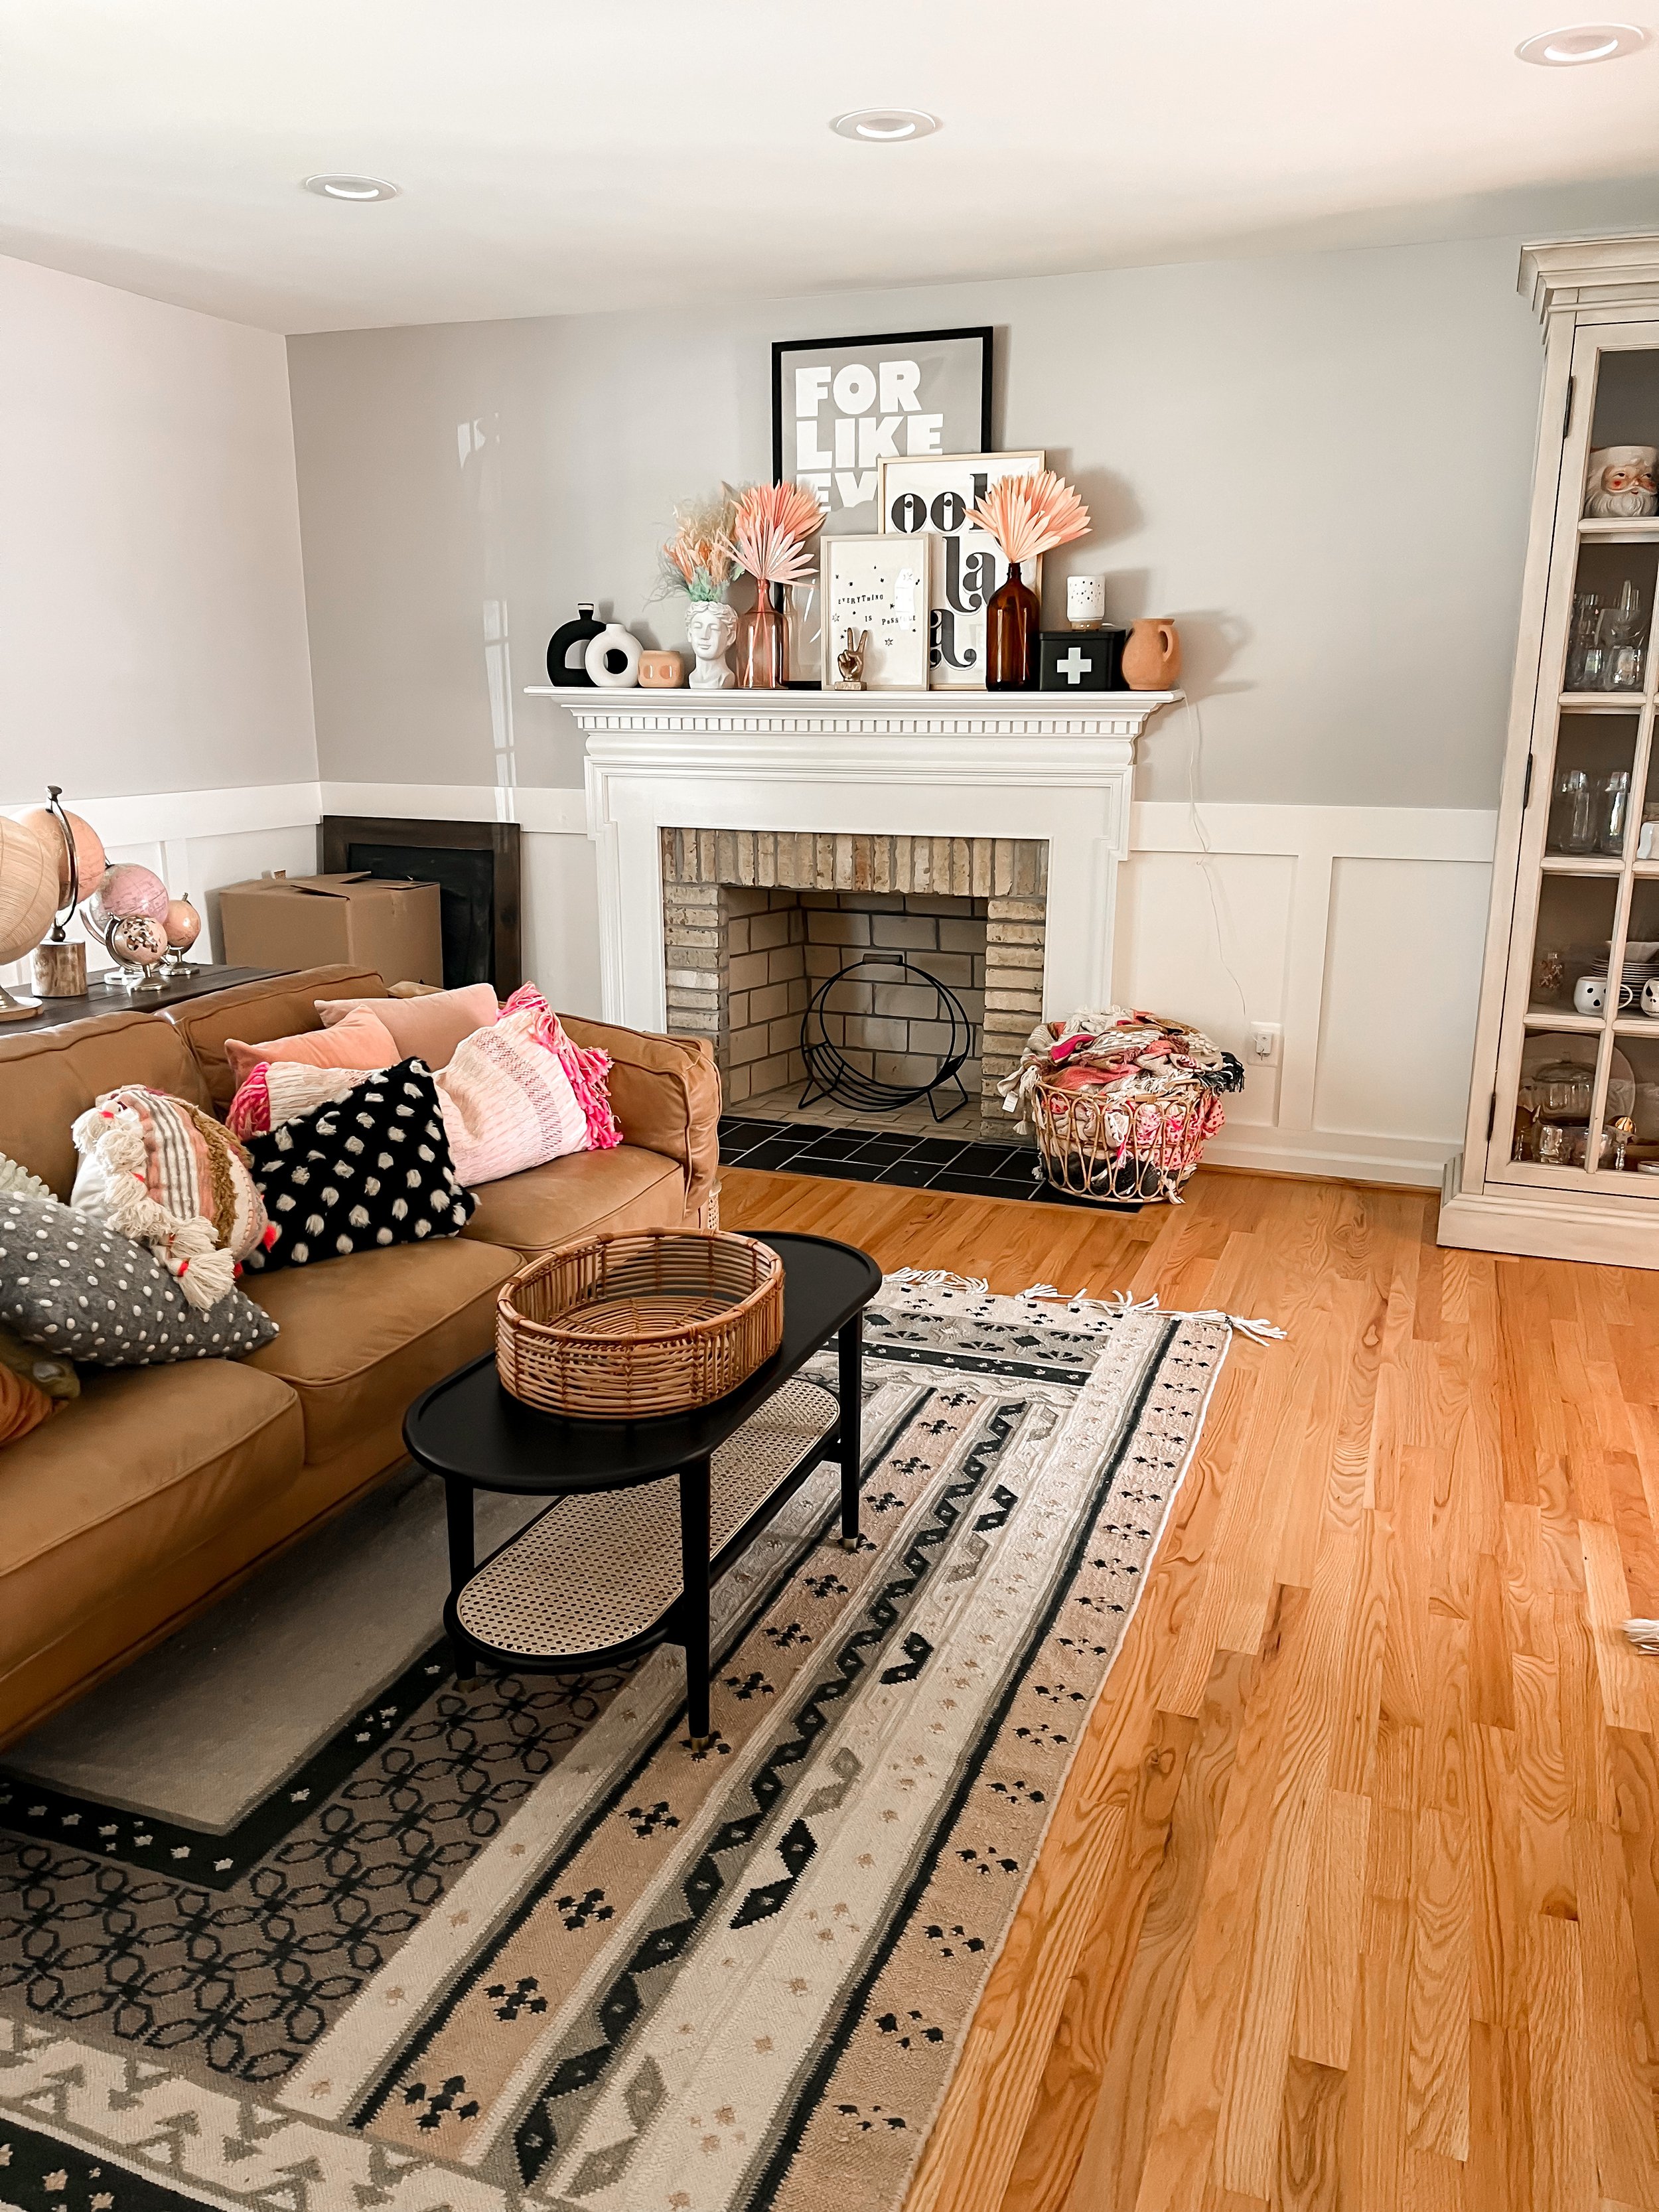
One, it completely transformed this space in my opinion!!! It took it from simple, traditional, and cozy to modern, eclectic, and trendy (while still keeping it’s coziness too!)
Two, we are currently in a rental, and I wanted a way to make the fireplace a bit more modern (AND MORE ME) without doing anything permanent. This is a great option for someone in a temporary home! I always remind people you can STILL make rentals and temporary homes YOURS! with how much we move, this is critical for me. I want my kids to feel like they are home, no matter how long that may be.
Three, IT WAS MUCH CHEAPER than a permanent and full blown fireplace makeover. So if you’re wanting to test out an option before making it permanent or if you’re looking for a project on a budget THIS IS IT!!!
In total the project was $70 while full fireplace tile makeovers can cost $300 - $2,000!
***note for fire safety reasons I secured it with painters tape so that it could easily be taken down if we wanted to make a fire here. you could also use velcro, but just ensure you’re making it to where you can remove it if you are using flammable materials***
Here’s the video of how I made it!
Here’s the video of me making it, but you’ll likely be able to see it better and get more detail by visiting the post on my instagram where I’ll be answering questions too! You can find that here :
tap here for the ig reel about it!!!
Plus, the video on IG has music too which is much more exciting hehe!
As you can see, I started off by cutting one side of the foam board to fit a side of the brick. Once I had that measured out, I used the T ruler and razor to cut out the foam.
After one side was cut, I started placing the tile stickers on from the inside of the fireplace out towards the wall, because I wanted the cut portions to be on the outside closest to the wall. The full squares went towards the middle of the fireplace.
After finishing one side I moved up to do one upper horizontal piece.
Here’s where it gets tricky. You don’t want to continue working towards the other side now from the top. Instead you want to redo this process and start from the left side so you can ensure you are even on both sides to meet in the middle.
While most fireplaces are symmetrical, you don’t want the tiles to not line up the same on the vertical pieces.
So now move to the other side and start the same process over, then move up to the horizontal piece.
You’ll end up meeting in the middle for both sides!
Then I added painters tape all around (that’s also how I secured the foam pieces together btw) and pressed it onto the fireplace and VOILA!!!
THAT’S LITERALLY IT!!!!!!!
easiest DIY I’ve ever done on a home project but this is actually probably the project that’s had the most impact on a home we’ve lived in. Wow, win win.


You will also need foam boards. You can get them at the Dollar Tree for $1.25 each but I opted for ones from Walmart for $5 that were a bit harder. I was initially going to cut wood to fit this space, but I loved the foam boards and it truly made it a DIY i could do all by myself with no extra equipment needed for sanding or cutting. ***I FOUND THAT BECAUSE I USED BLACK TILE AND BLACK BOARDS, IT MADE THE PROJECT WORK BEST! I WOULD RECOMMEND USING WHITE BOARDS IF YOU’RE DOING A LIGHTER STICKER BECAUSE THE COLOR MATCHING HELPS THE TILES BLEND IN BETTER IF YOU DON’T GET THEM PERFECTLY LINED UP***
Here are the other products we used that we already had on hand:
T-Square ruler
scissors + razor (please be carefule!)
painters tape or velcro (this allows you to remove it should you want to have a fire, then you can replace it!)

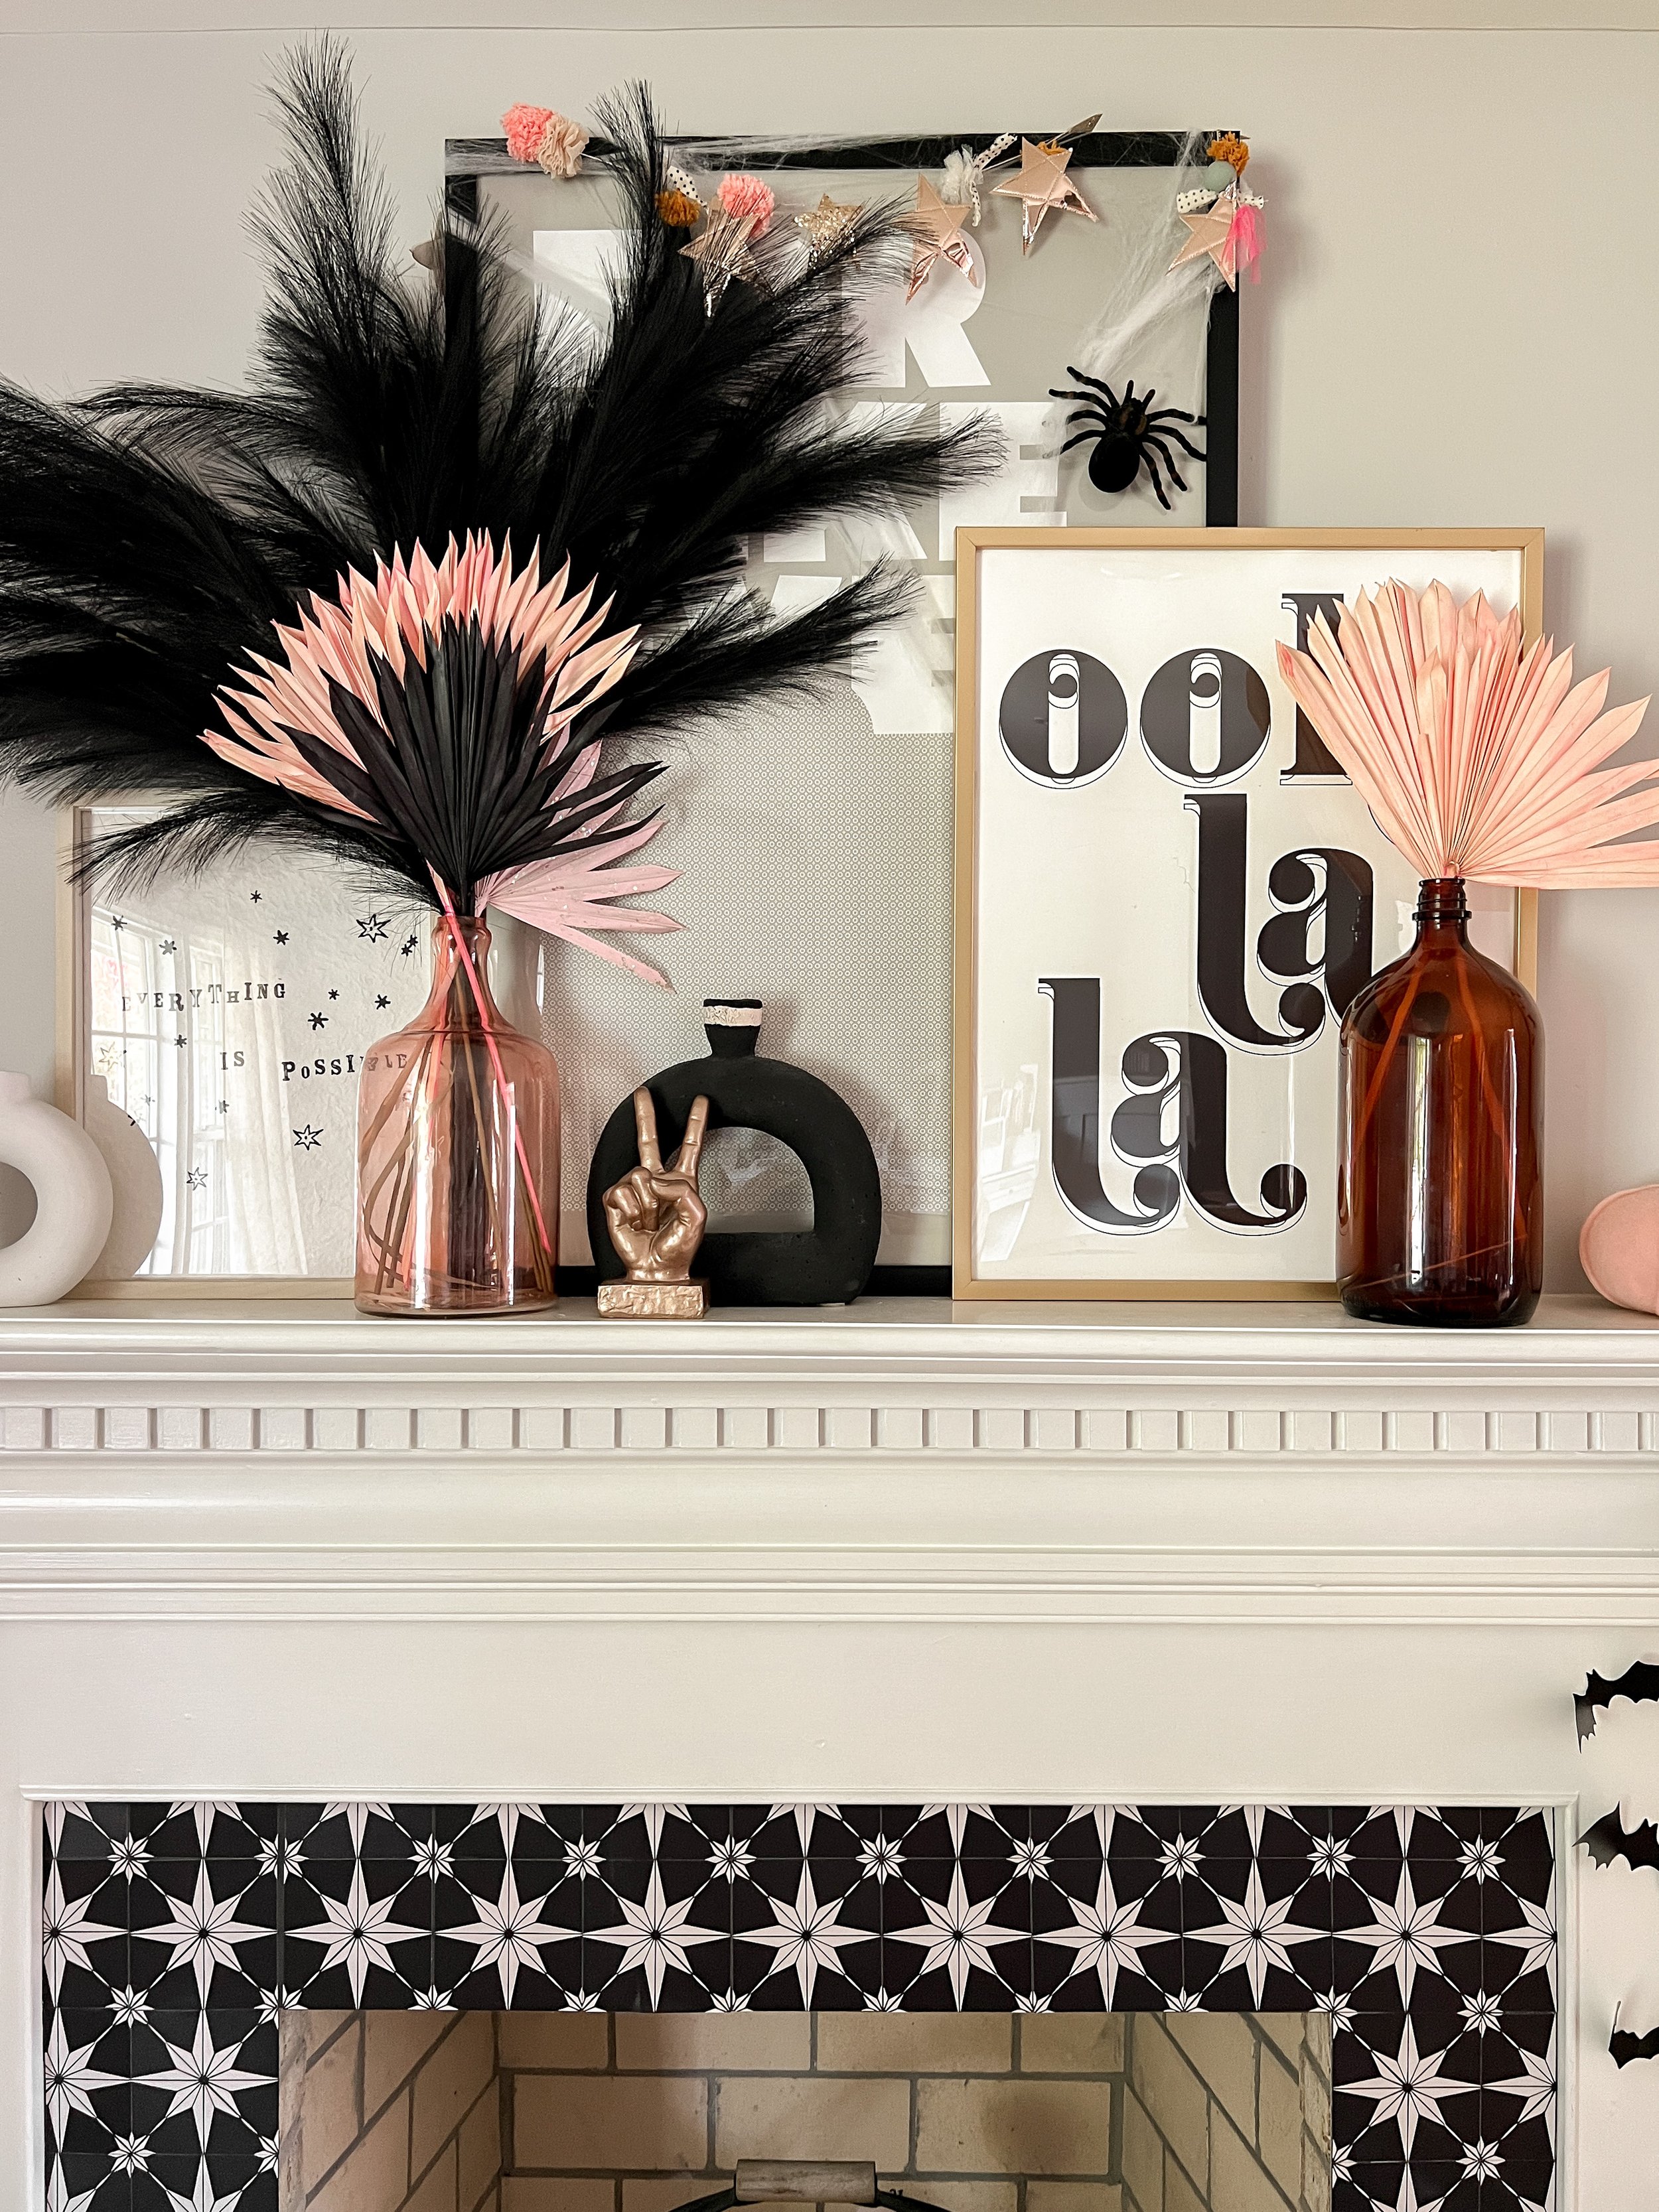


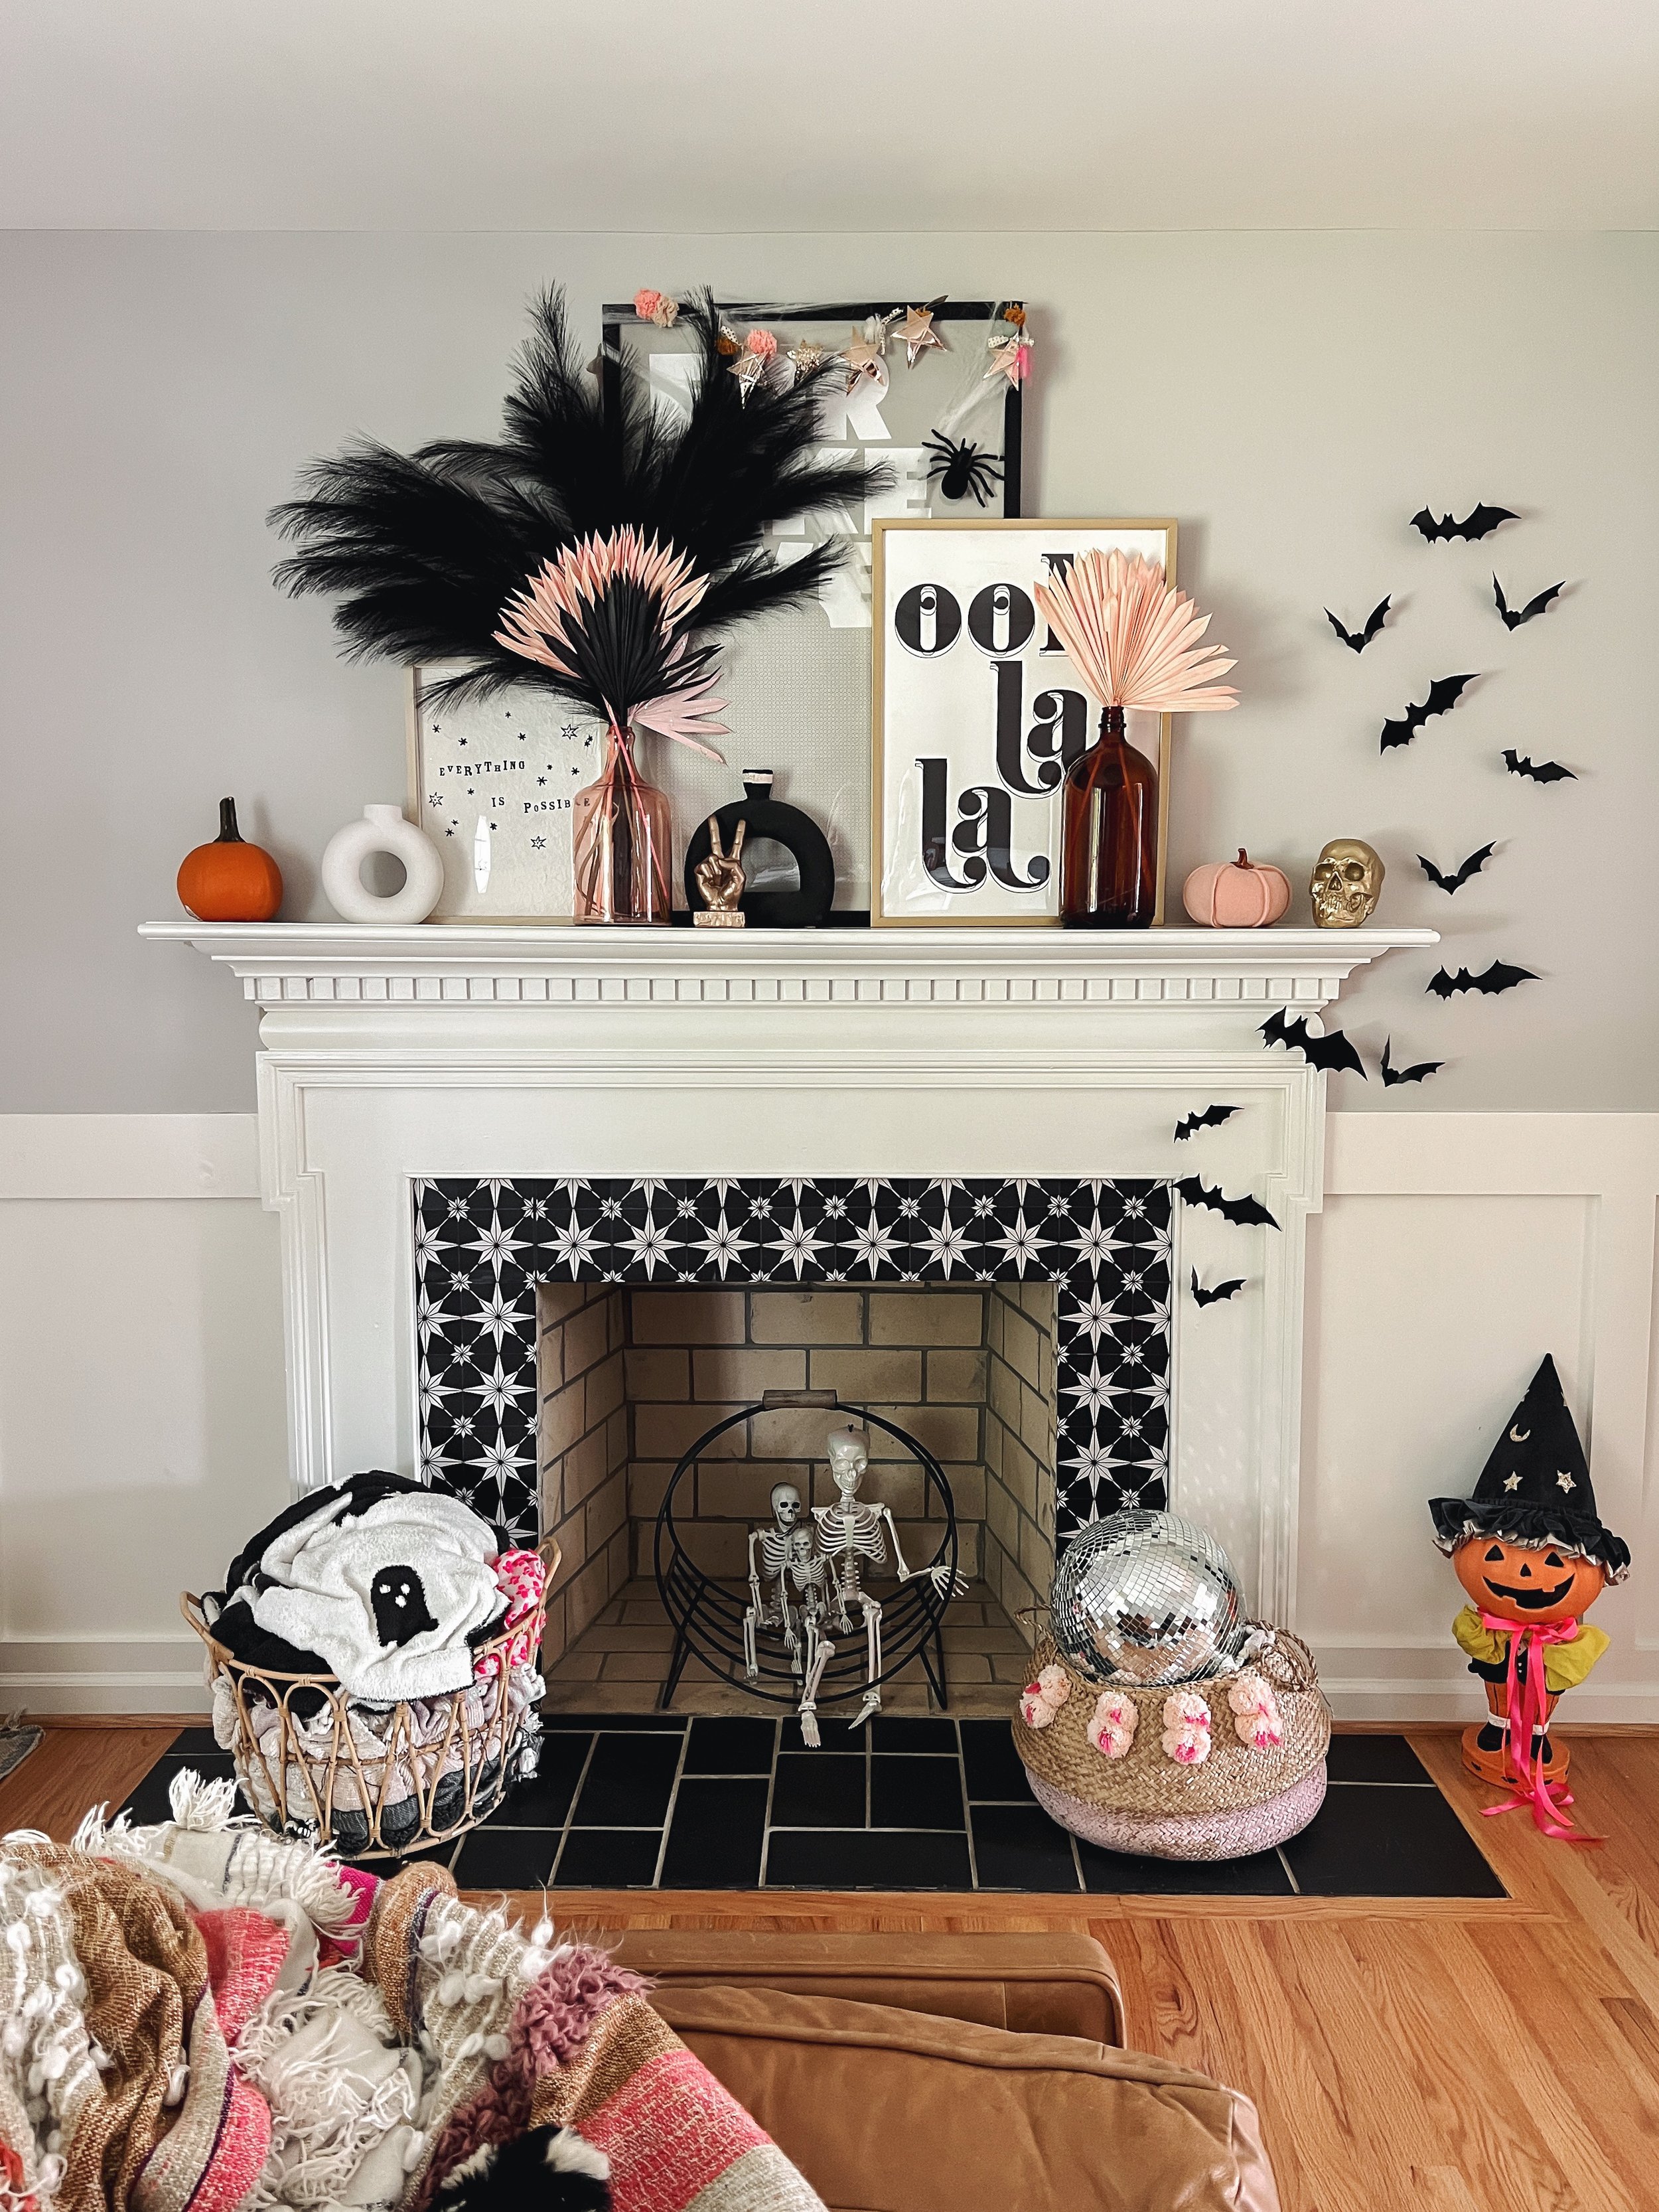

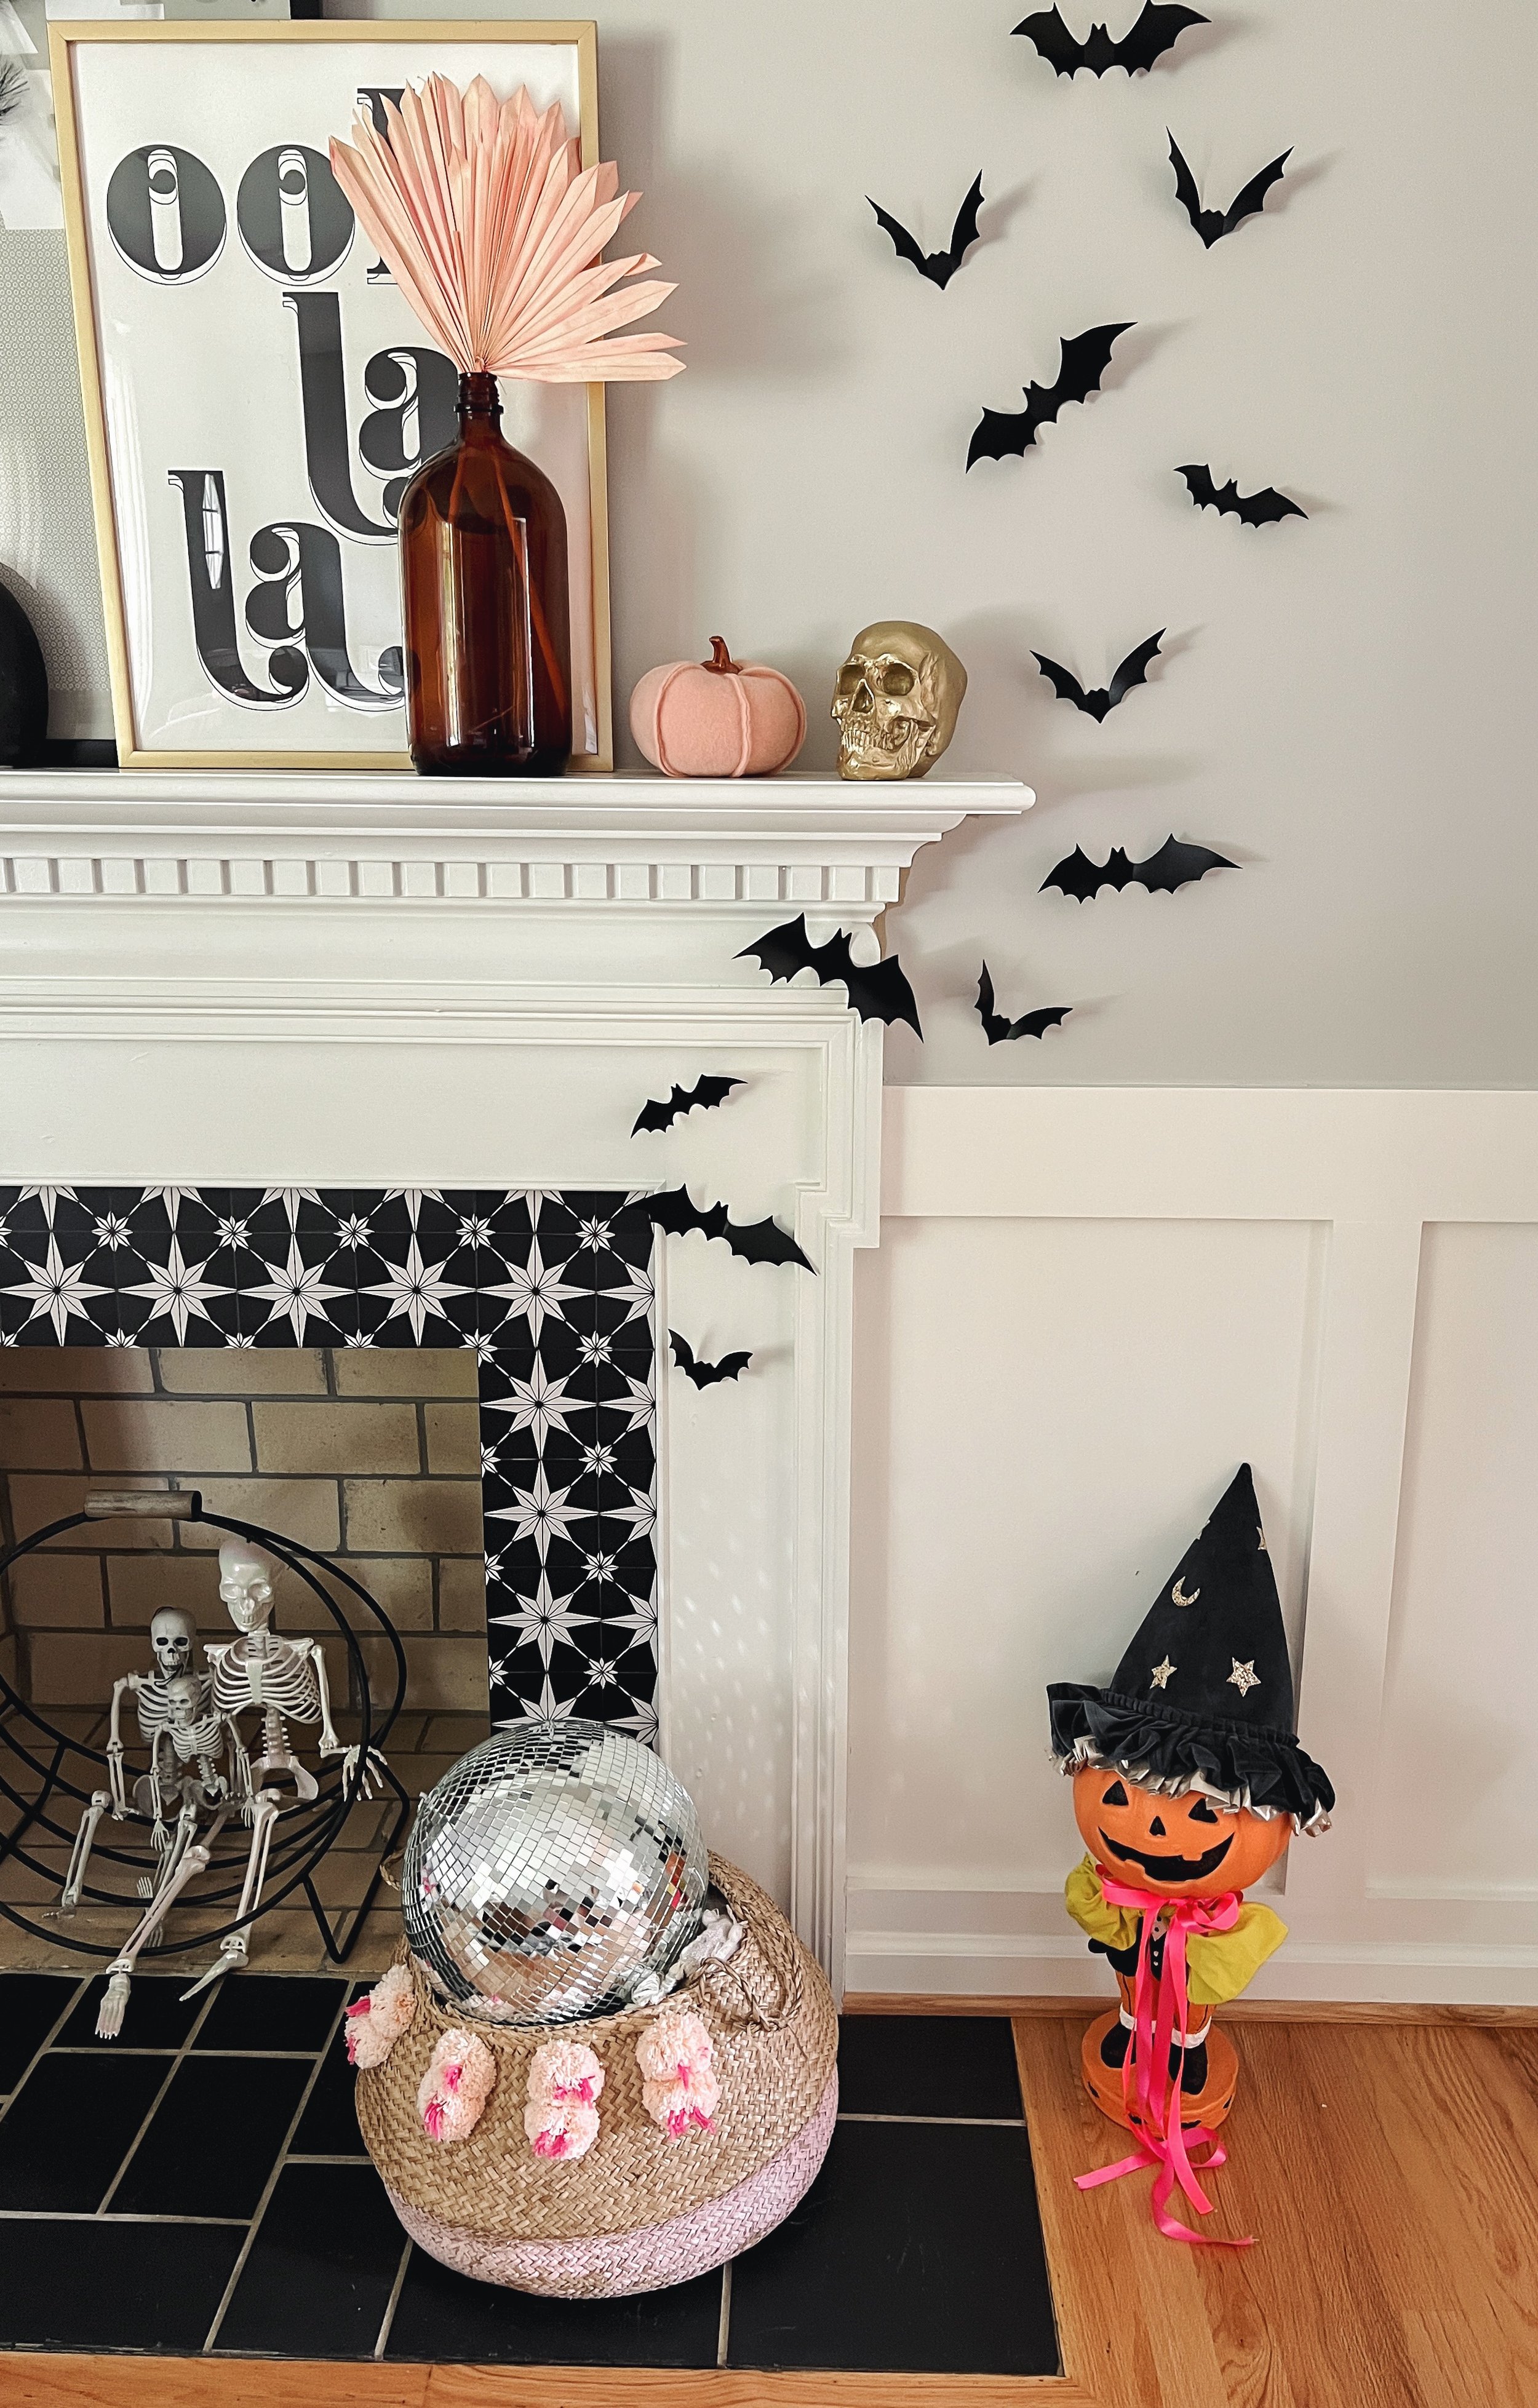
Here are some more pics of the mantel and fireplace so you can see it better!
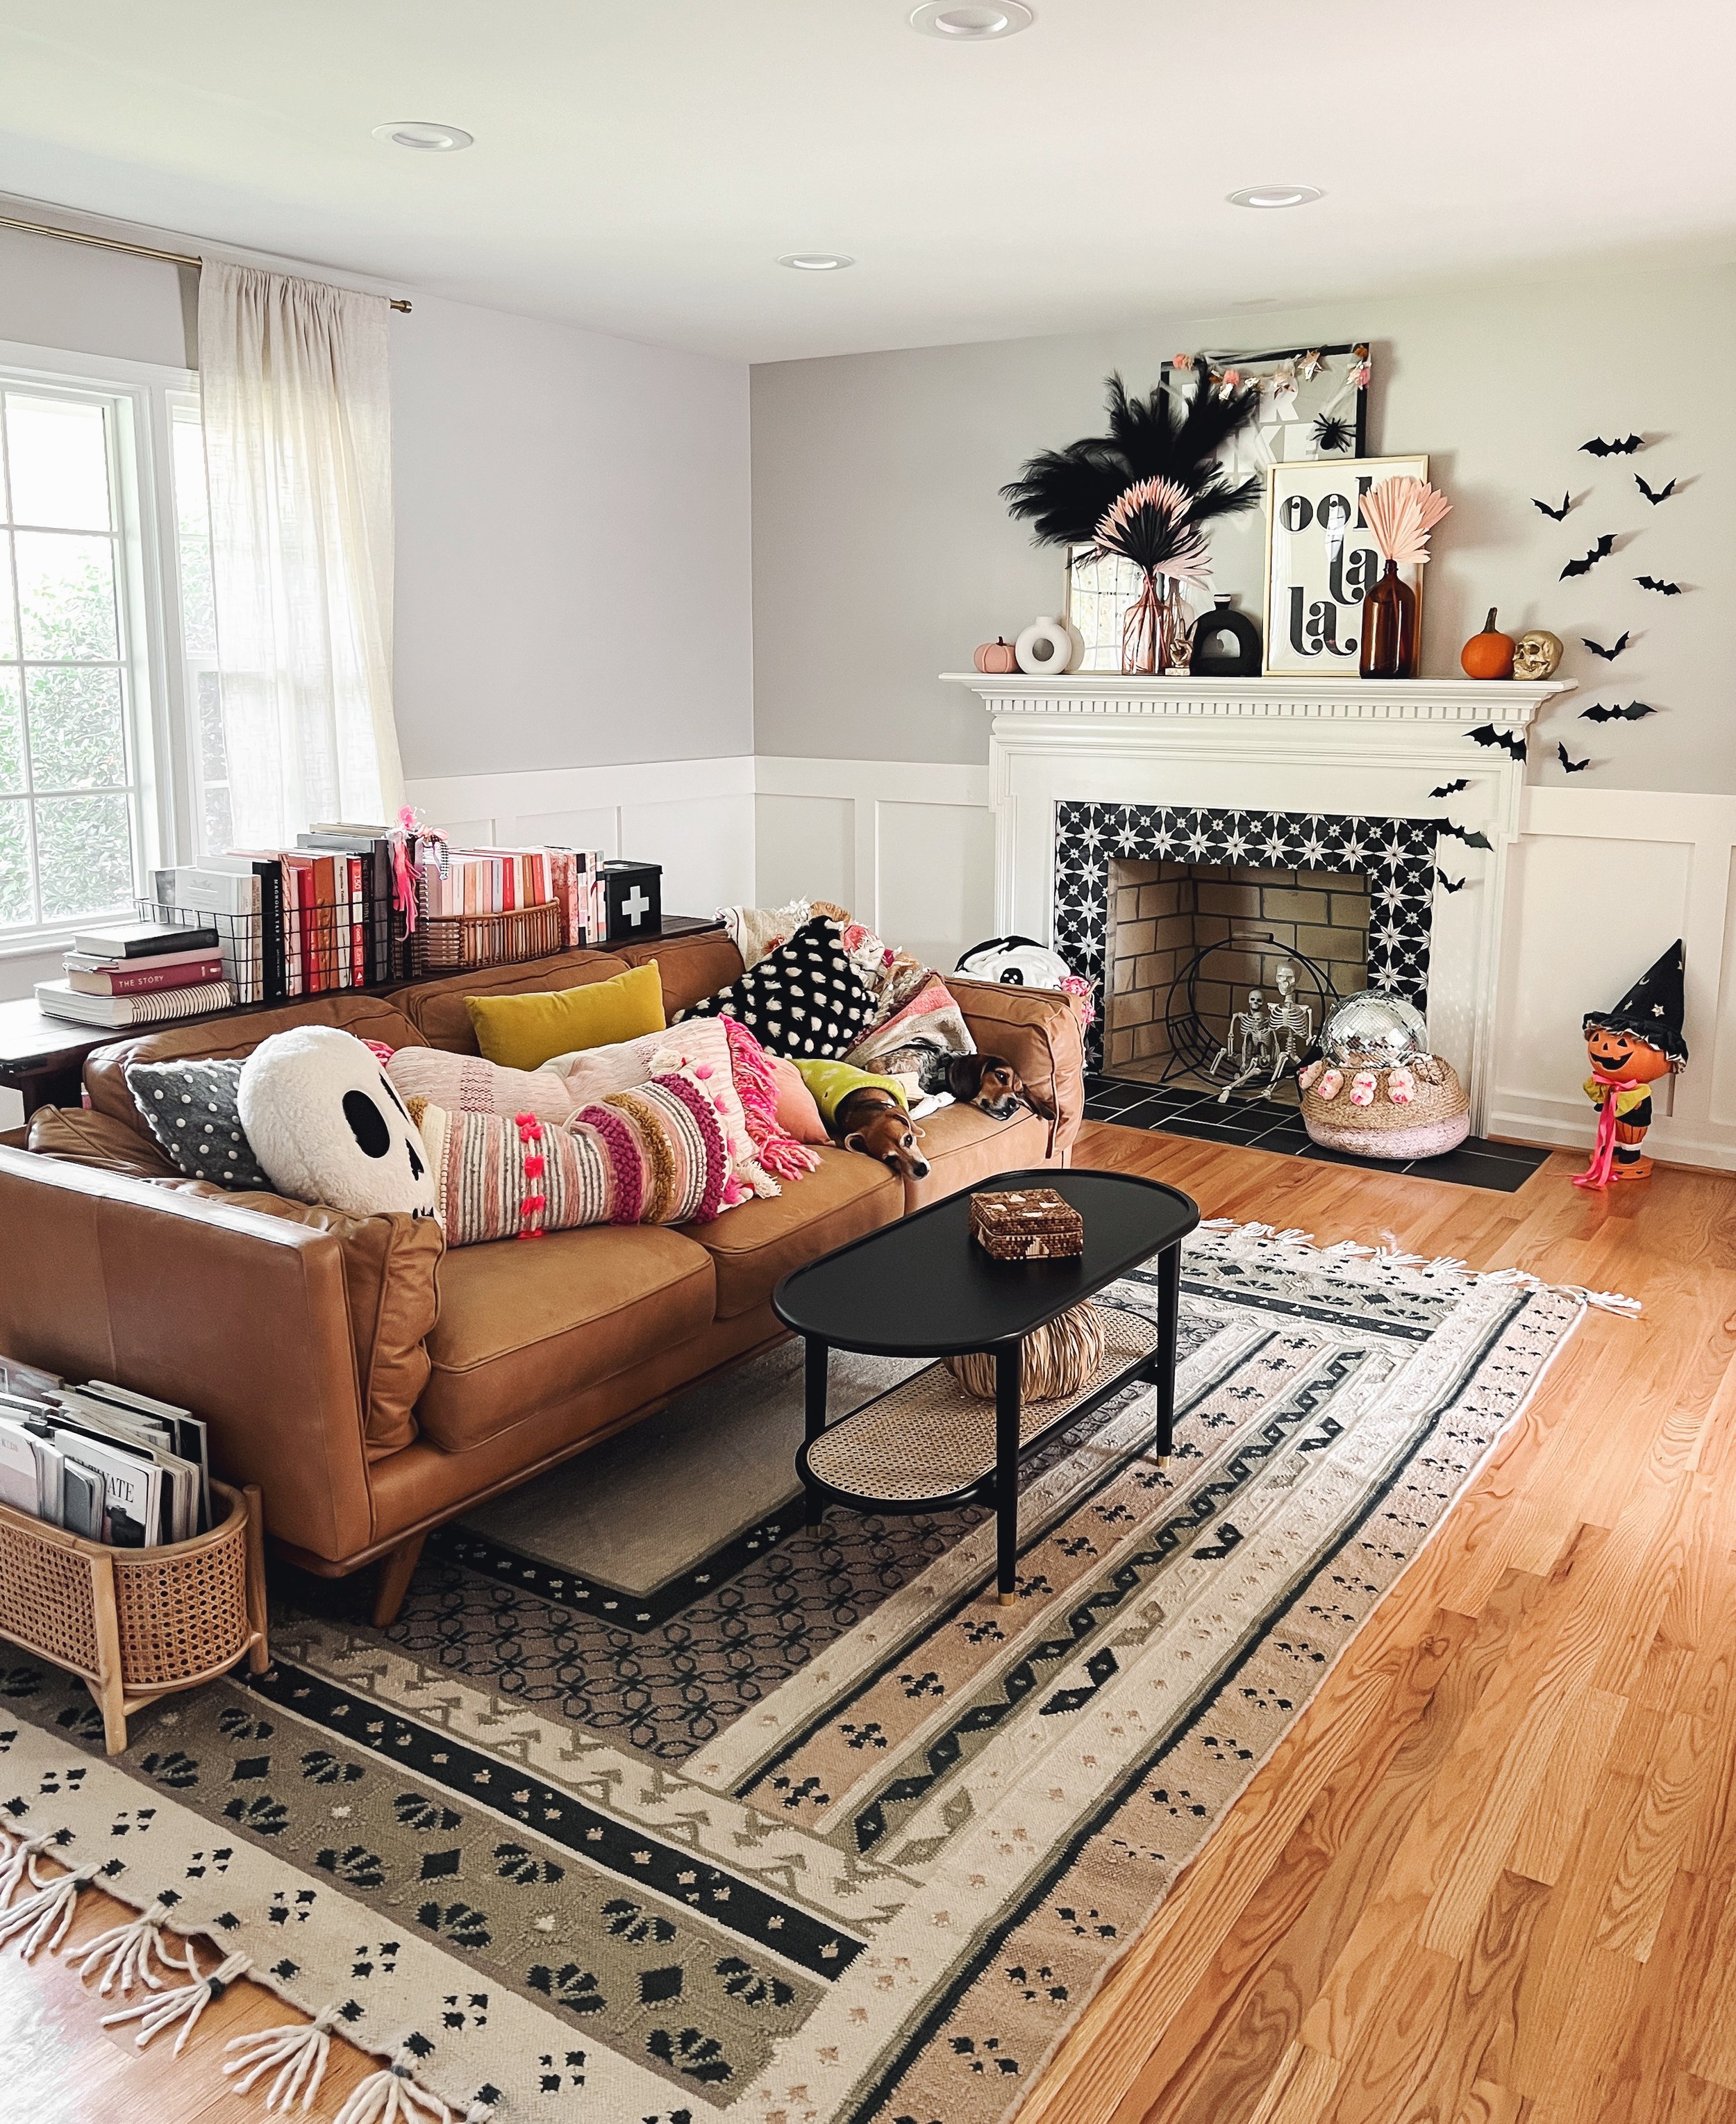
I just love the way it transformed this space and made it more our own, in a temporary way!


I truly hope you loved this project as much as I had fun making it. If you want to reference it in the future, please please pin it to your pinterest board so you can come back to it when you’re ready!
I hope you’re inspired to make your home YOURS no matter the circumstances.
happy creating.
xoxo, Amy