BALLOON ARCH DIY TUTORIAL
/The wait is over! My most asked for tutorial is finally here!!! Yippee!!!
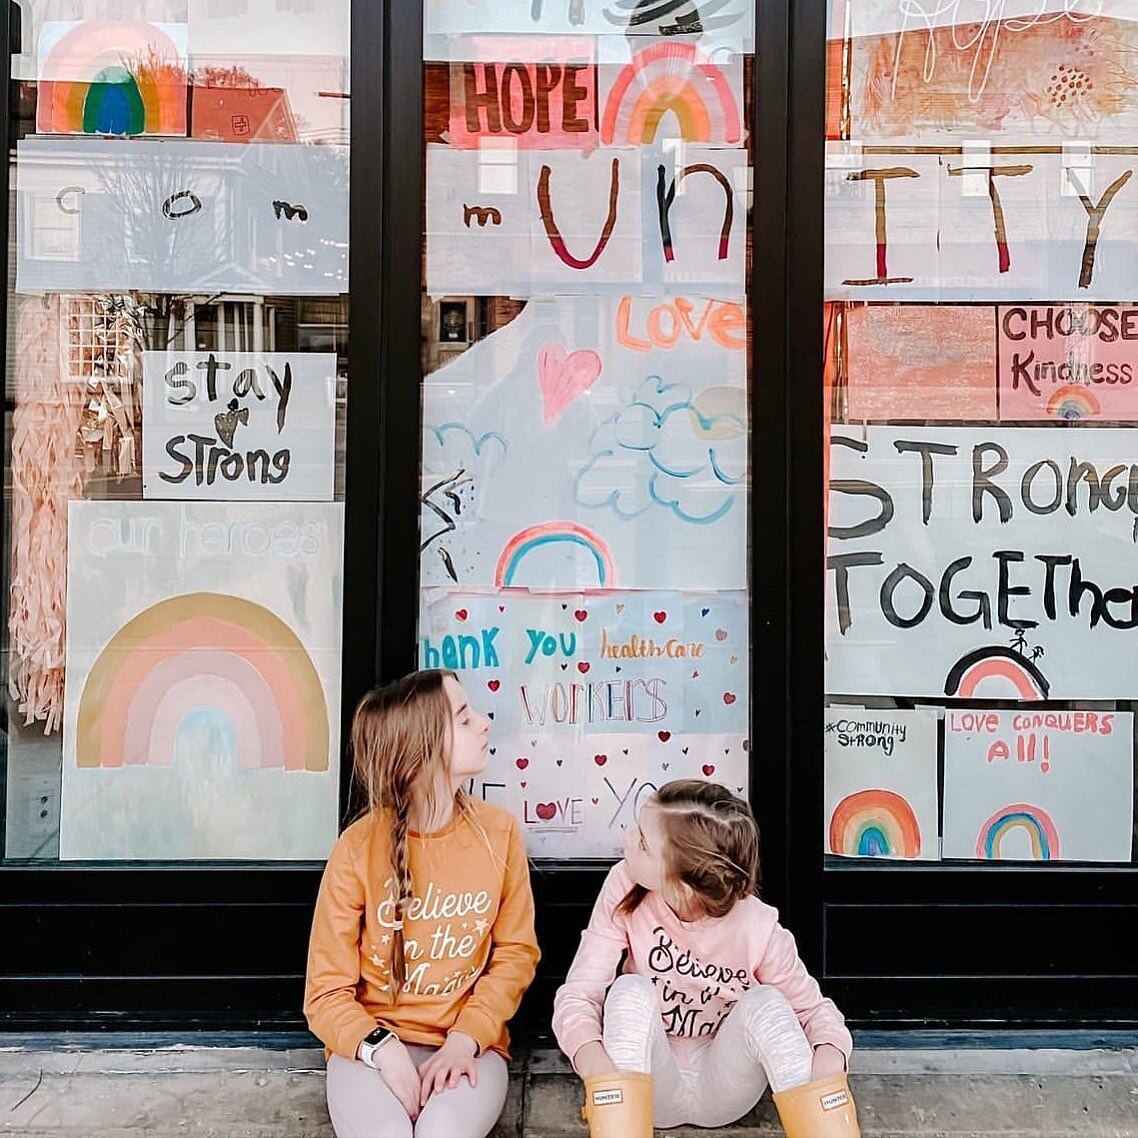
It's no lie that I have such a passion for celebrating people, and there's no better way for me to do it than create a backdrop and beautiful scene for their celebrations!
I'll be sharing pictures from both Hadley's first birthday party and from a recent baby shower I hosted! I love that you can see two different color scheme options, but I also love showing you this because the exact same DIY method was used for both!!
Can't wait to see your creations!


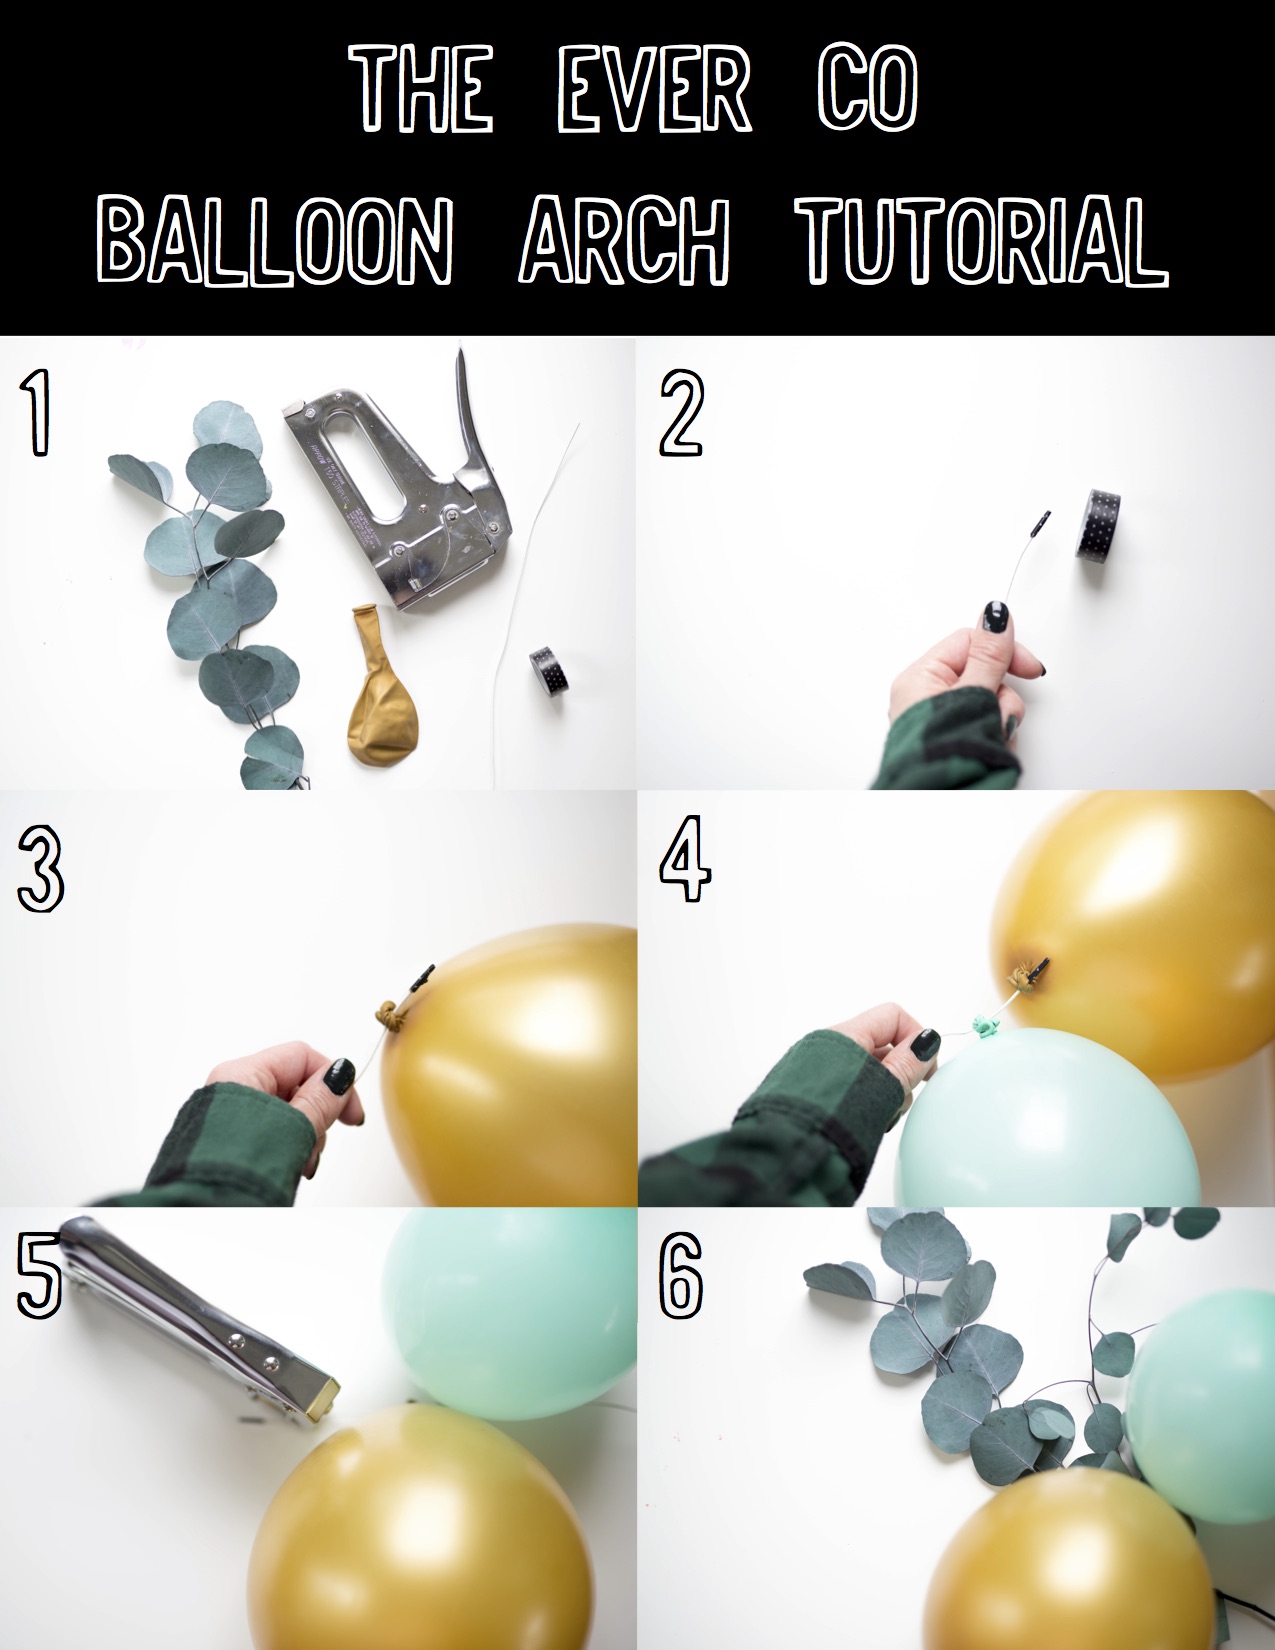
STEP ONE: GATHER MATERIALS
- greenery (i used eucalyptus leaves and silk flowers from Hobby Lobby)
- staple gun (we used a staple gun because we are redoing the wall that I've been using for these arch garlands. We've also used heavy duty painters tape as well, but it's not guaranteed to stay up.)
- balloons (I gather balloons from various big box locations like party city, walmart, target, hobby lobby, michaels and joanns, but I also love shop sweet lulu and etsy shops for more specialized colors!!)
- washi tape (to cover the ends of the floral wire)
- cloth floral stem wire (buy the heaviest gauge available and around 18" for length. There are Hobby lobby, walmart and amazon versions available! Just google search "cloth floral stem wire" and many come up; I bought ours at our local Hobby Lobby)
STEP TWO: COVER FLORAL WIRE ENDS
- for this step you will use your washi tape to cover the floral wire stems. cover the ends of all the floral wires you plan on using. the length and number of wires will be based on the size of arch you need (get this measurement by laying them out along the wall to get a visual for how large you want the arch).
- the purpose of this is to ensure that as you're messing with the wire (which is sharp) it doesn't accidentally poke and pop one of the balloons; it equally acts as a barrier for your skin too!
STEP THREE: BEGIN TO TIE BALLOONS TO THE WIRE
- you want to first use your limited colors. If you are using a pink, red and white color scheme for instance, but you want pink to be the dominant color, I'd start with placing limited reds and white along all of the floral wires spreading them out evenly. then I'd go back in and fill in all the open areas with all the pinks remaining so that there's mostly pink in the arch. similar to the blue and gold arch, I started with the gold first and then filled in with all of the blue.
- to tie the balloons to the wire, I didn't tie them off to themselves first. It's easier to tie them to the wire as you're tying the balloon off. Does that make sense? haha!
STEP FOUR: FILL IN ALL SPACES
- add in all of the filler balloons (the dominant color) and lay the arch flat on the ground to make sure there's no open areas.
- also remember that once it is on the wall, many of the open areas will fill in because the pressure against the wall will push the balloons out.
STEP FIVE: STAPLE WIRE TO WALL
- again, you may want to use another method that is a little less damaging to your walls. we are only doing it because it's a wall we are going to redo. BUT, if you can do it-do it! It's the best way to keep them secure! if you have a space that can be easily covered up by a large picture, then a staple gun will work!!
- you want to staple right above where you put the washi tape.
- once the wire is stapled to the wall, the best way to secure the wire is to wrap the end with the washi tape around the wire to fully secure the arch to the wall! that'll keep it from slipping or sliding at all!
- repeat this step with each end of each wire to form an arch on the wall.
- we learned that it's best to do each piece in segments because it's much easier to work with the smaller sections. once you put them all together on the wall it'll look like one fluid piece!
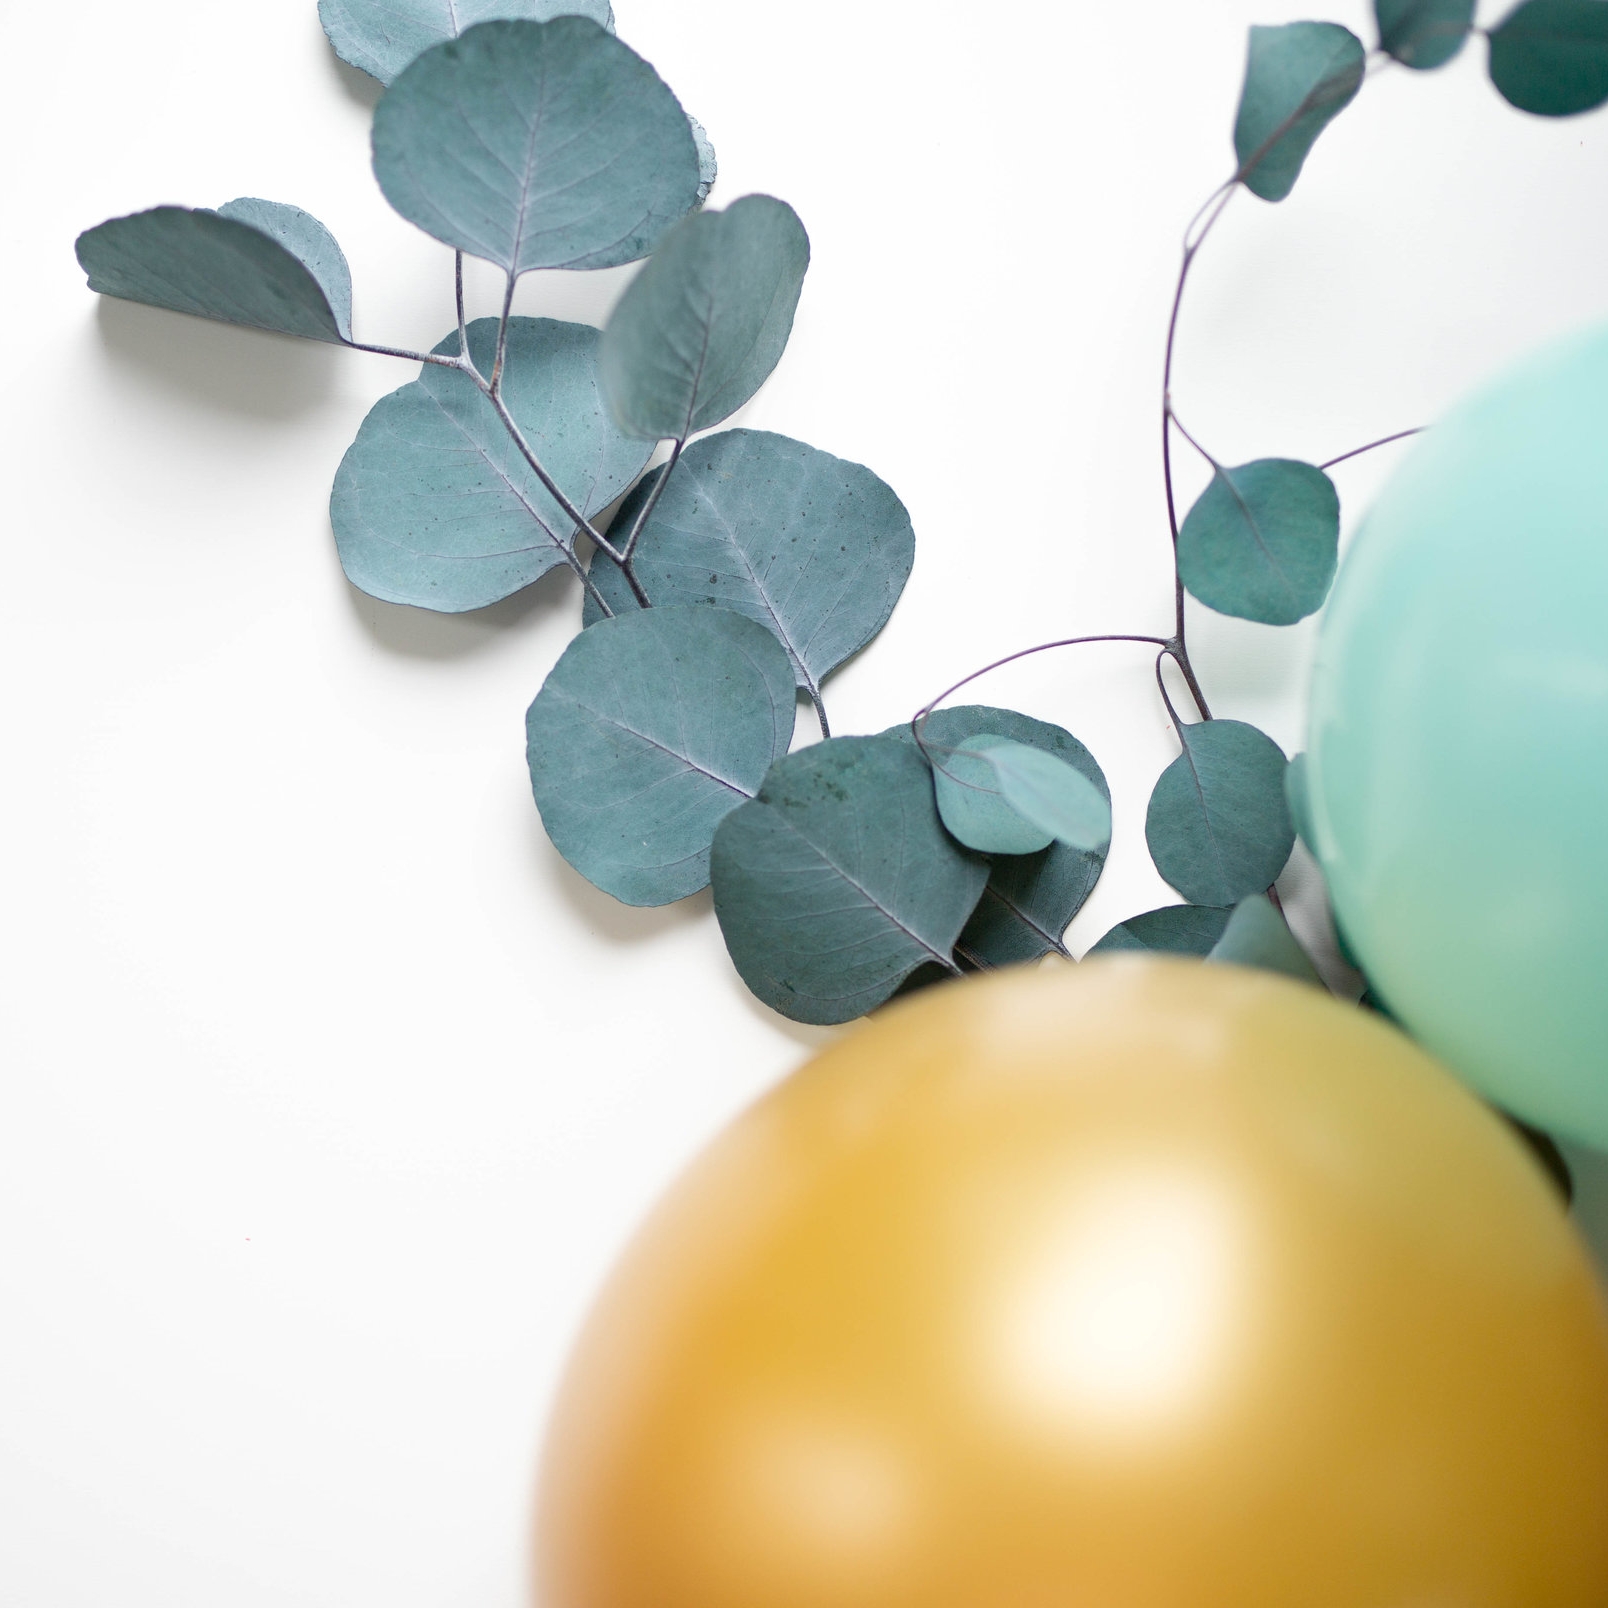
STEP SIX: ADD FLORAL
- once the full arch is on the wall, add in all of your pretty greenery and floral to make the arch come together! THIS IS MY FAVORITE PART!!! IT ADDS SOOOO MUCH!
- you'll have to mess around with different angles and placements until it looks the best, but feel free to use my pictures as inspiration for where you should place yours! I also use flowers and just stick them in between balloons to hold them in place!
- if the balloons are secured to the wall well (i.e. with a staple gun) you don't have to attach the flowers or greenery into the wall at all! mine are all just placed in between the balloons which hold them on the wall just fine!
I canNOT wait to see what you all come up with! Be sure to tag us @theeverco and #theeverco so we can see and possibly feature it on the blog or IG!
Here's some pics from my instagram @amylouhawthorne from the two parties I made these for! I'm pretty sure they're my all time favorite DIY now!
xx, Amy